UI showcase
Discover the UI exposed by the pre-built UI for each authentication flow and recipe.
Overview
The following page shows the interfaces exposed the pre-built UI for each authentication flow and recipe.
Email password login
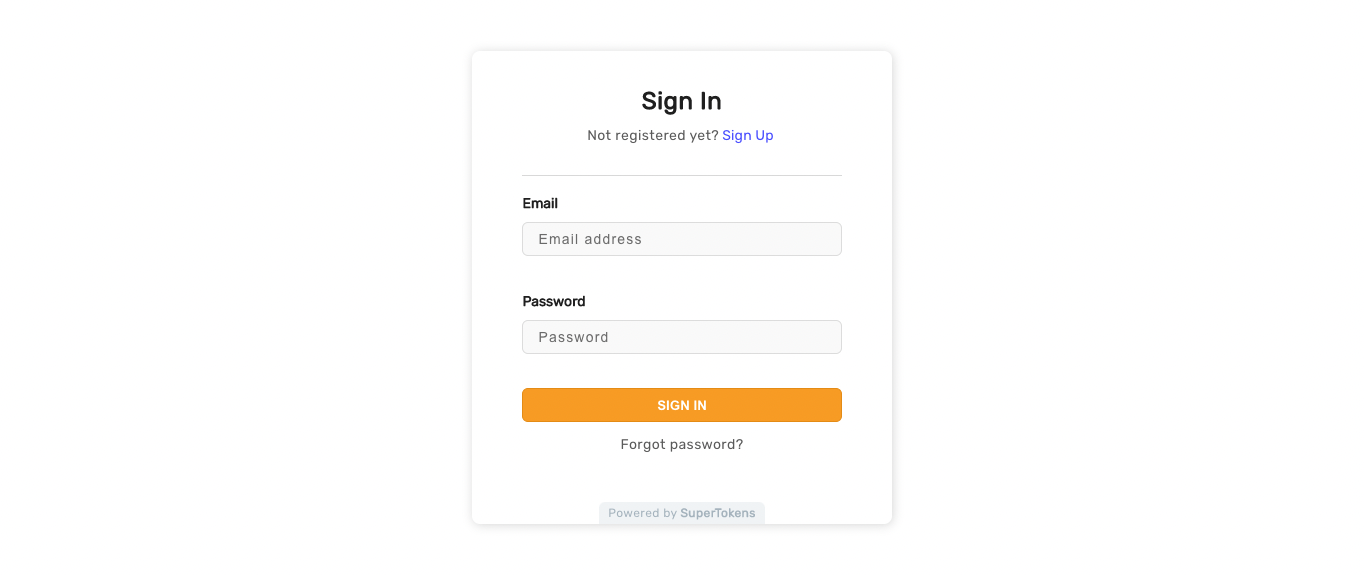
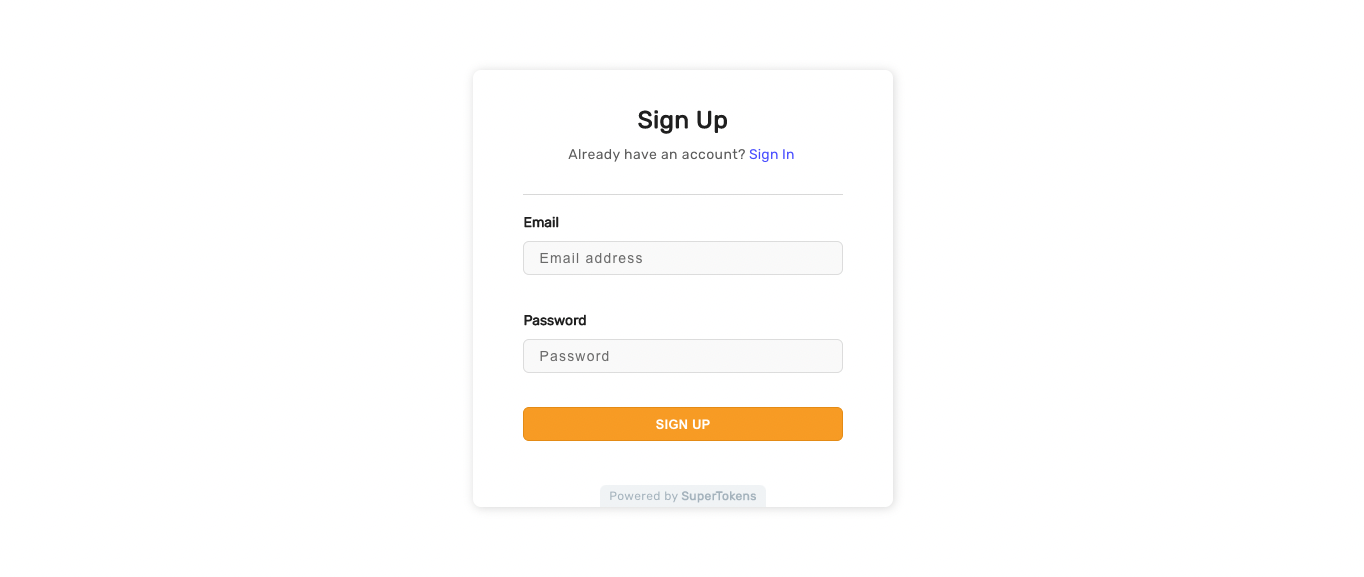
You can see the default UI when you visit the websiteBasePath (/auth by default) on your website. The form includes a sign in and a sign up form, and by default, the sign in form appears.
Default sign in form
Default sign up form
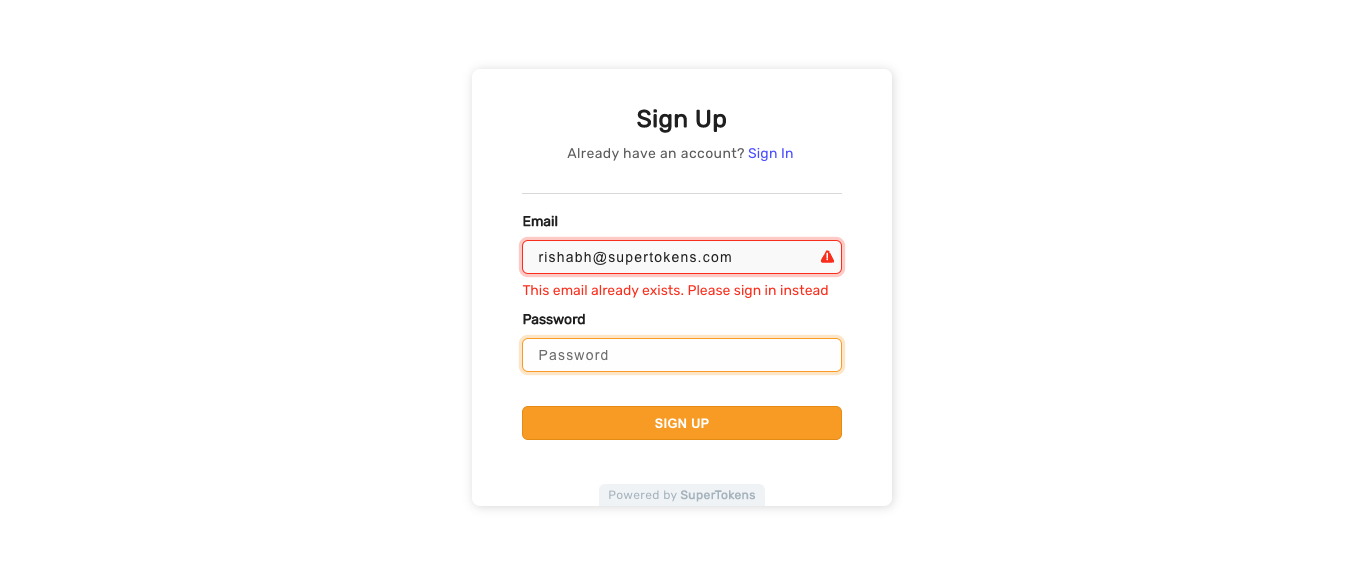
Field validation error UI
The sign up form checks if the email is unique and if not, shows an error to the user saying that the email already exists. Likewise, if any of the form field’s validation fails, the user sees an error like below.
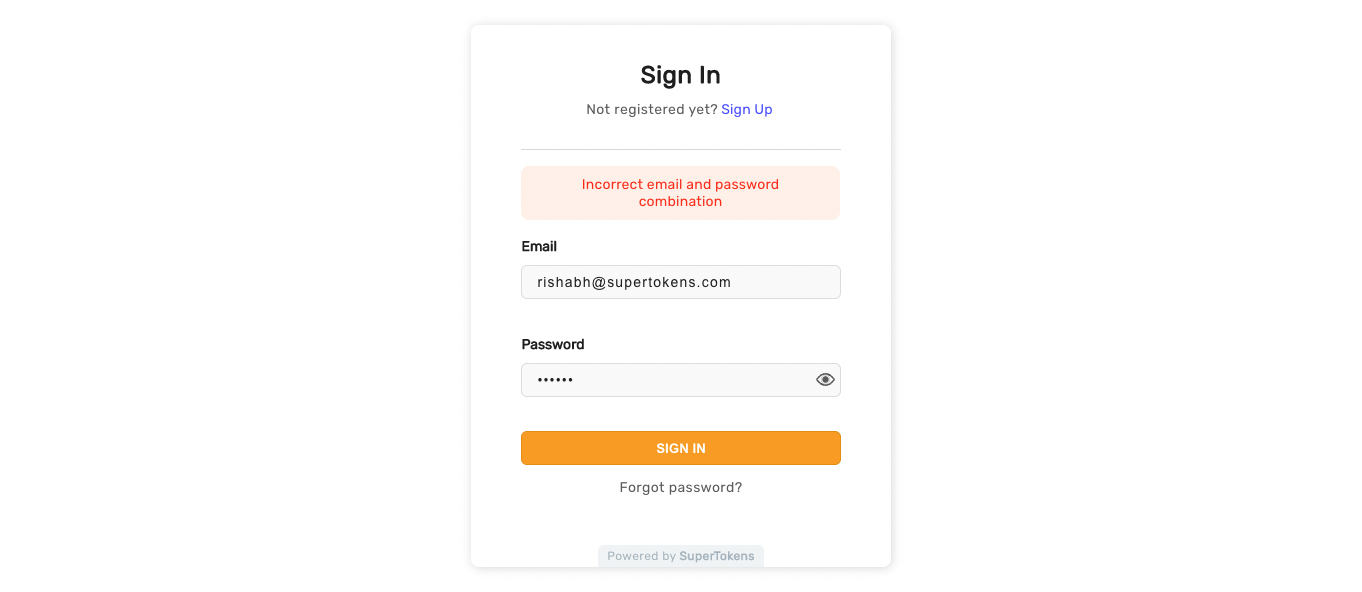
Incorrect email / password UI
In the sign in form, if the user enters an email that doesn’t exist, or is an incorrect email & password combination, they see the following error.
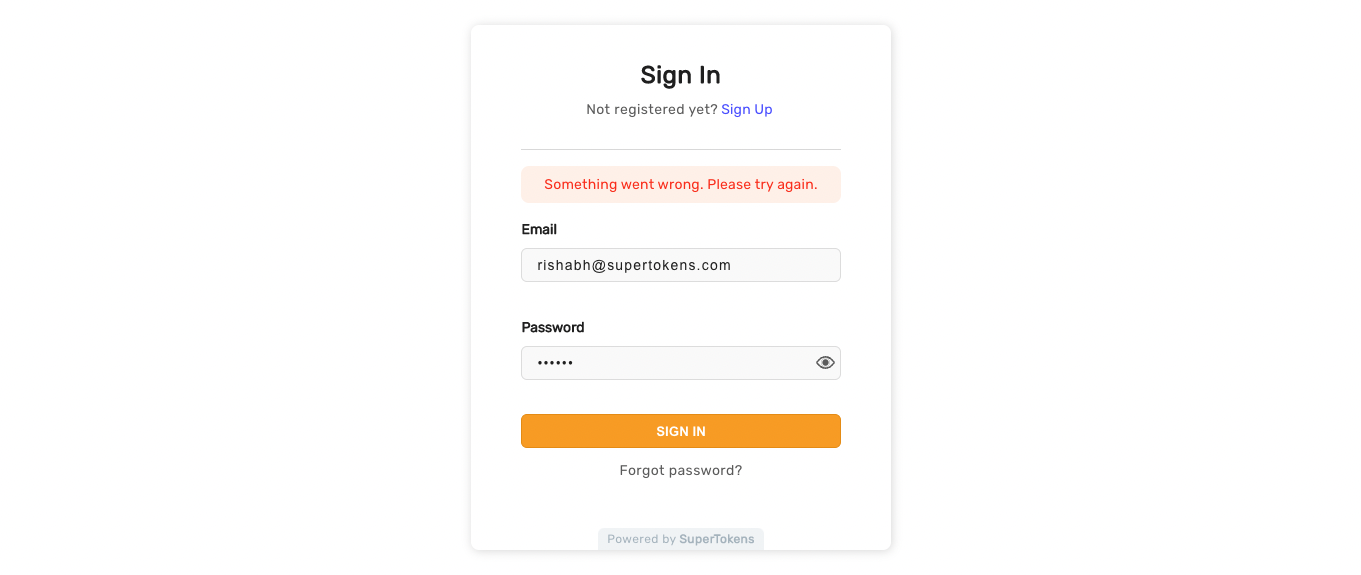
General error UI
If there are network related errors, or the backend sends a status code >= 300, then the following UI appears.
Email verification
Email sent screen UI
Once the user visits the email verification screen, this is what they see.
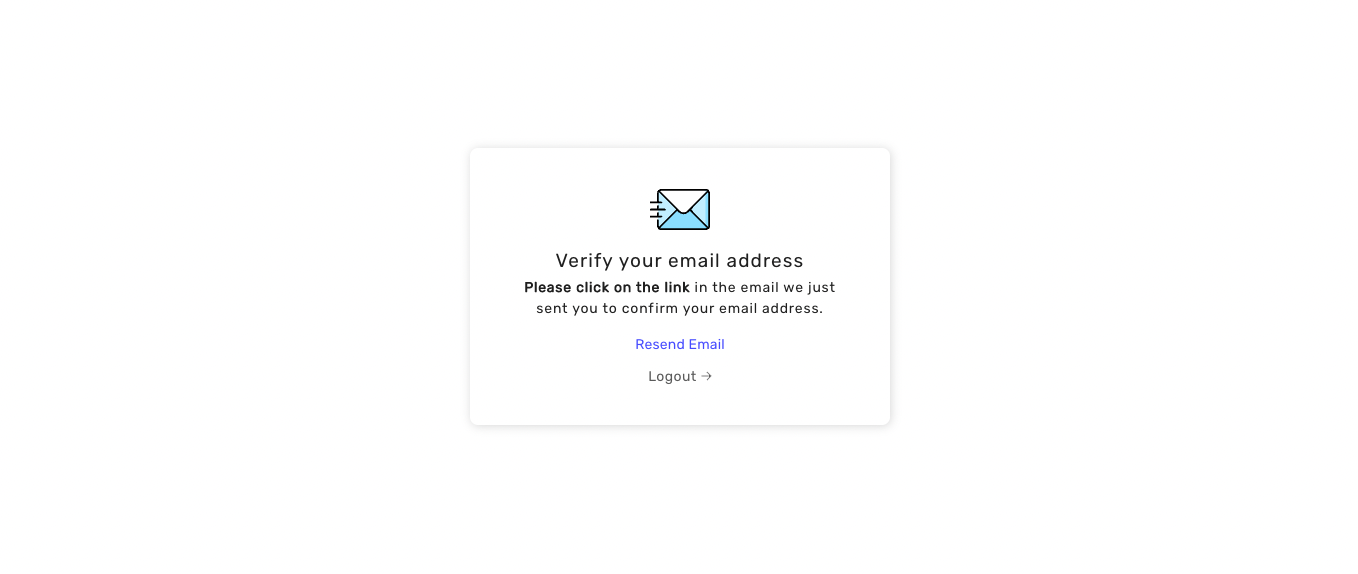
On screen load, SuperTokens automatically sends an email to the user. This way, the user doesn’t have to do any interaction before they get an email. Customizing this behavior is possible via the overrides feature.
The email verification link is of the format: <YOUR_WEBSITE_DOMAIN>//auth/verify-email?token=...&tenantId=....
Post link clicked screen
If a session exists
In this case, the API automatically consumes the email verification link and shows the following UI.
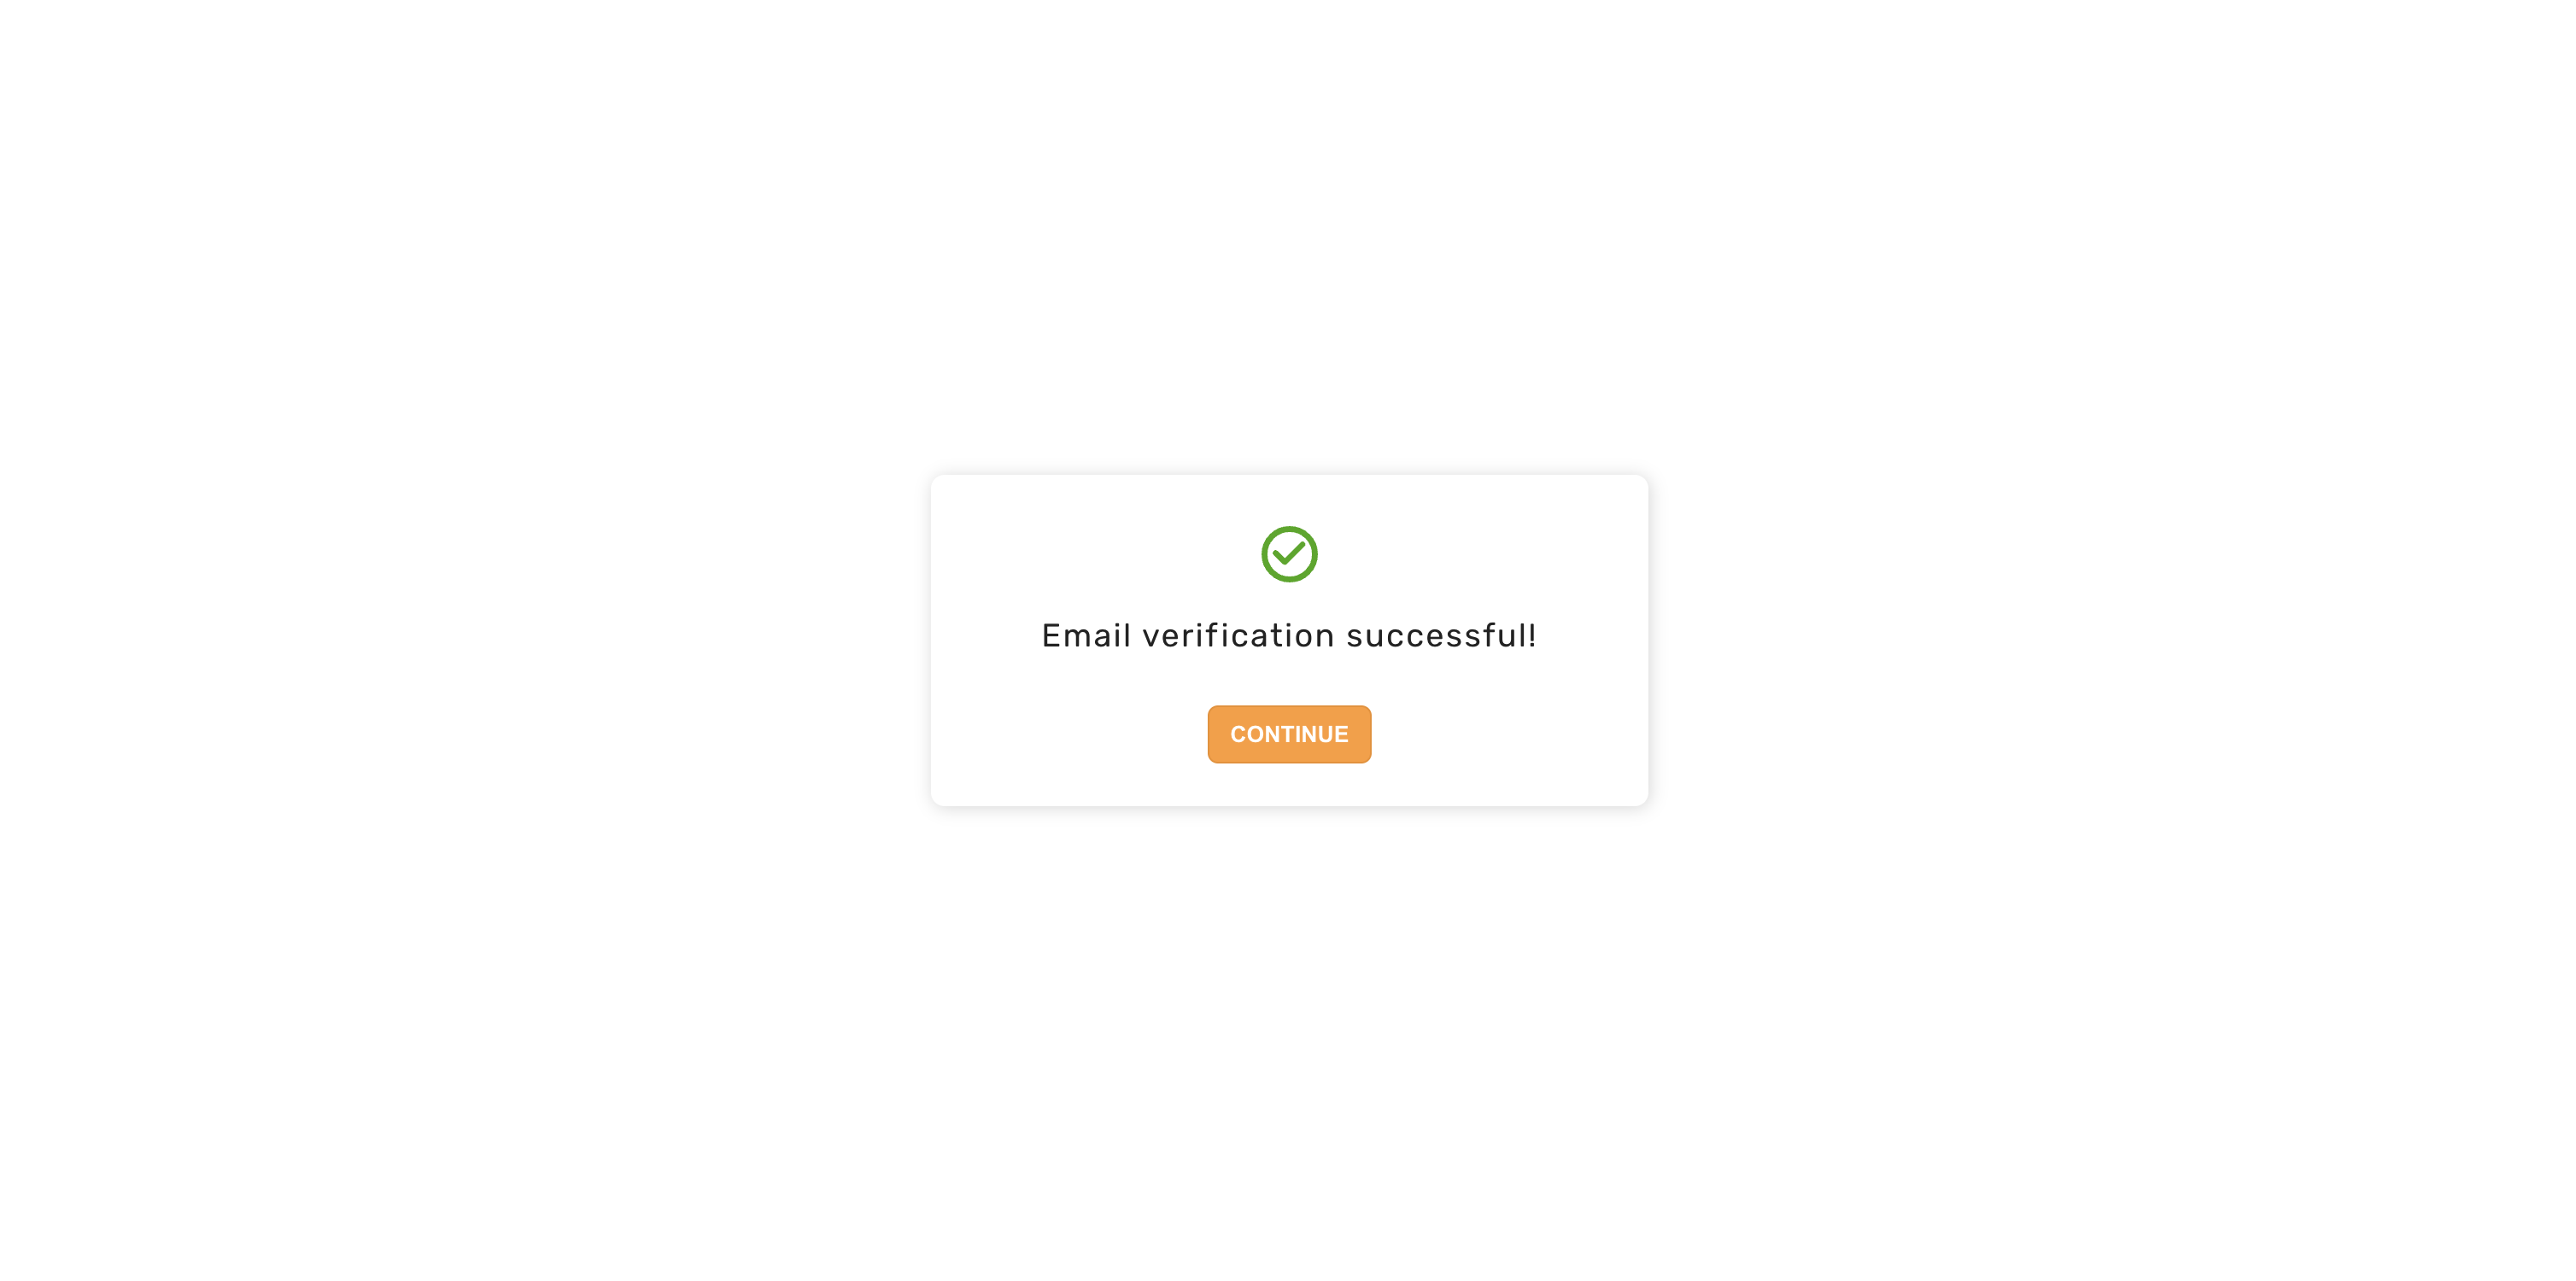
Clicking on the continue button takes the user to the post sign in / up page (/ by default).
If a session does not exist
In this case, the user must do an interaction before calling the API to consume the token. This prevents email clients from automatically verifying the email since many of them may crawl the link in the email.
The user first sees this screen
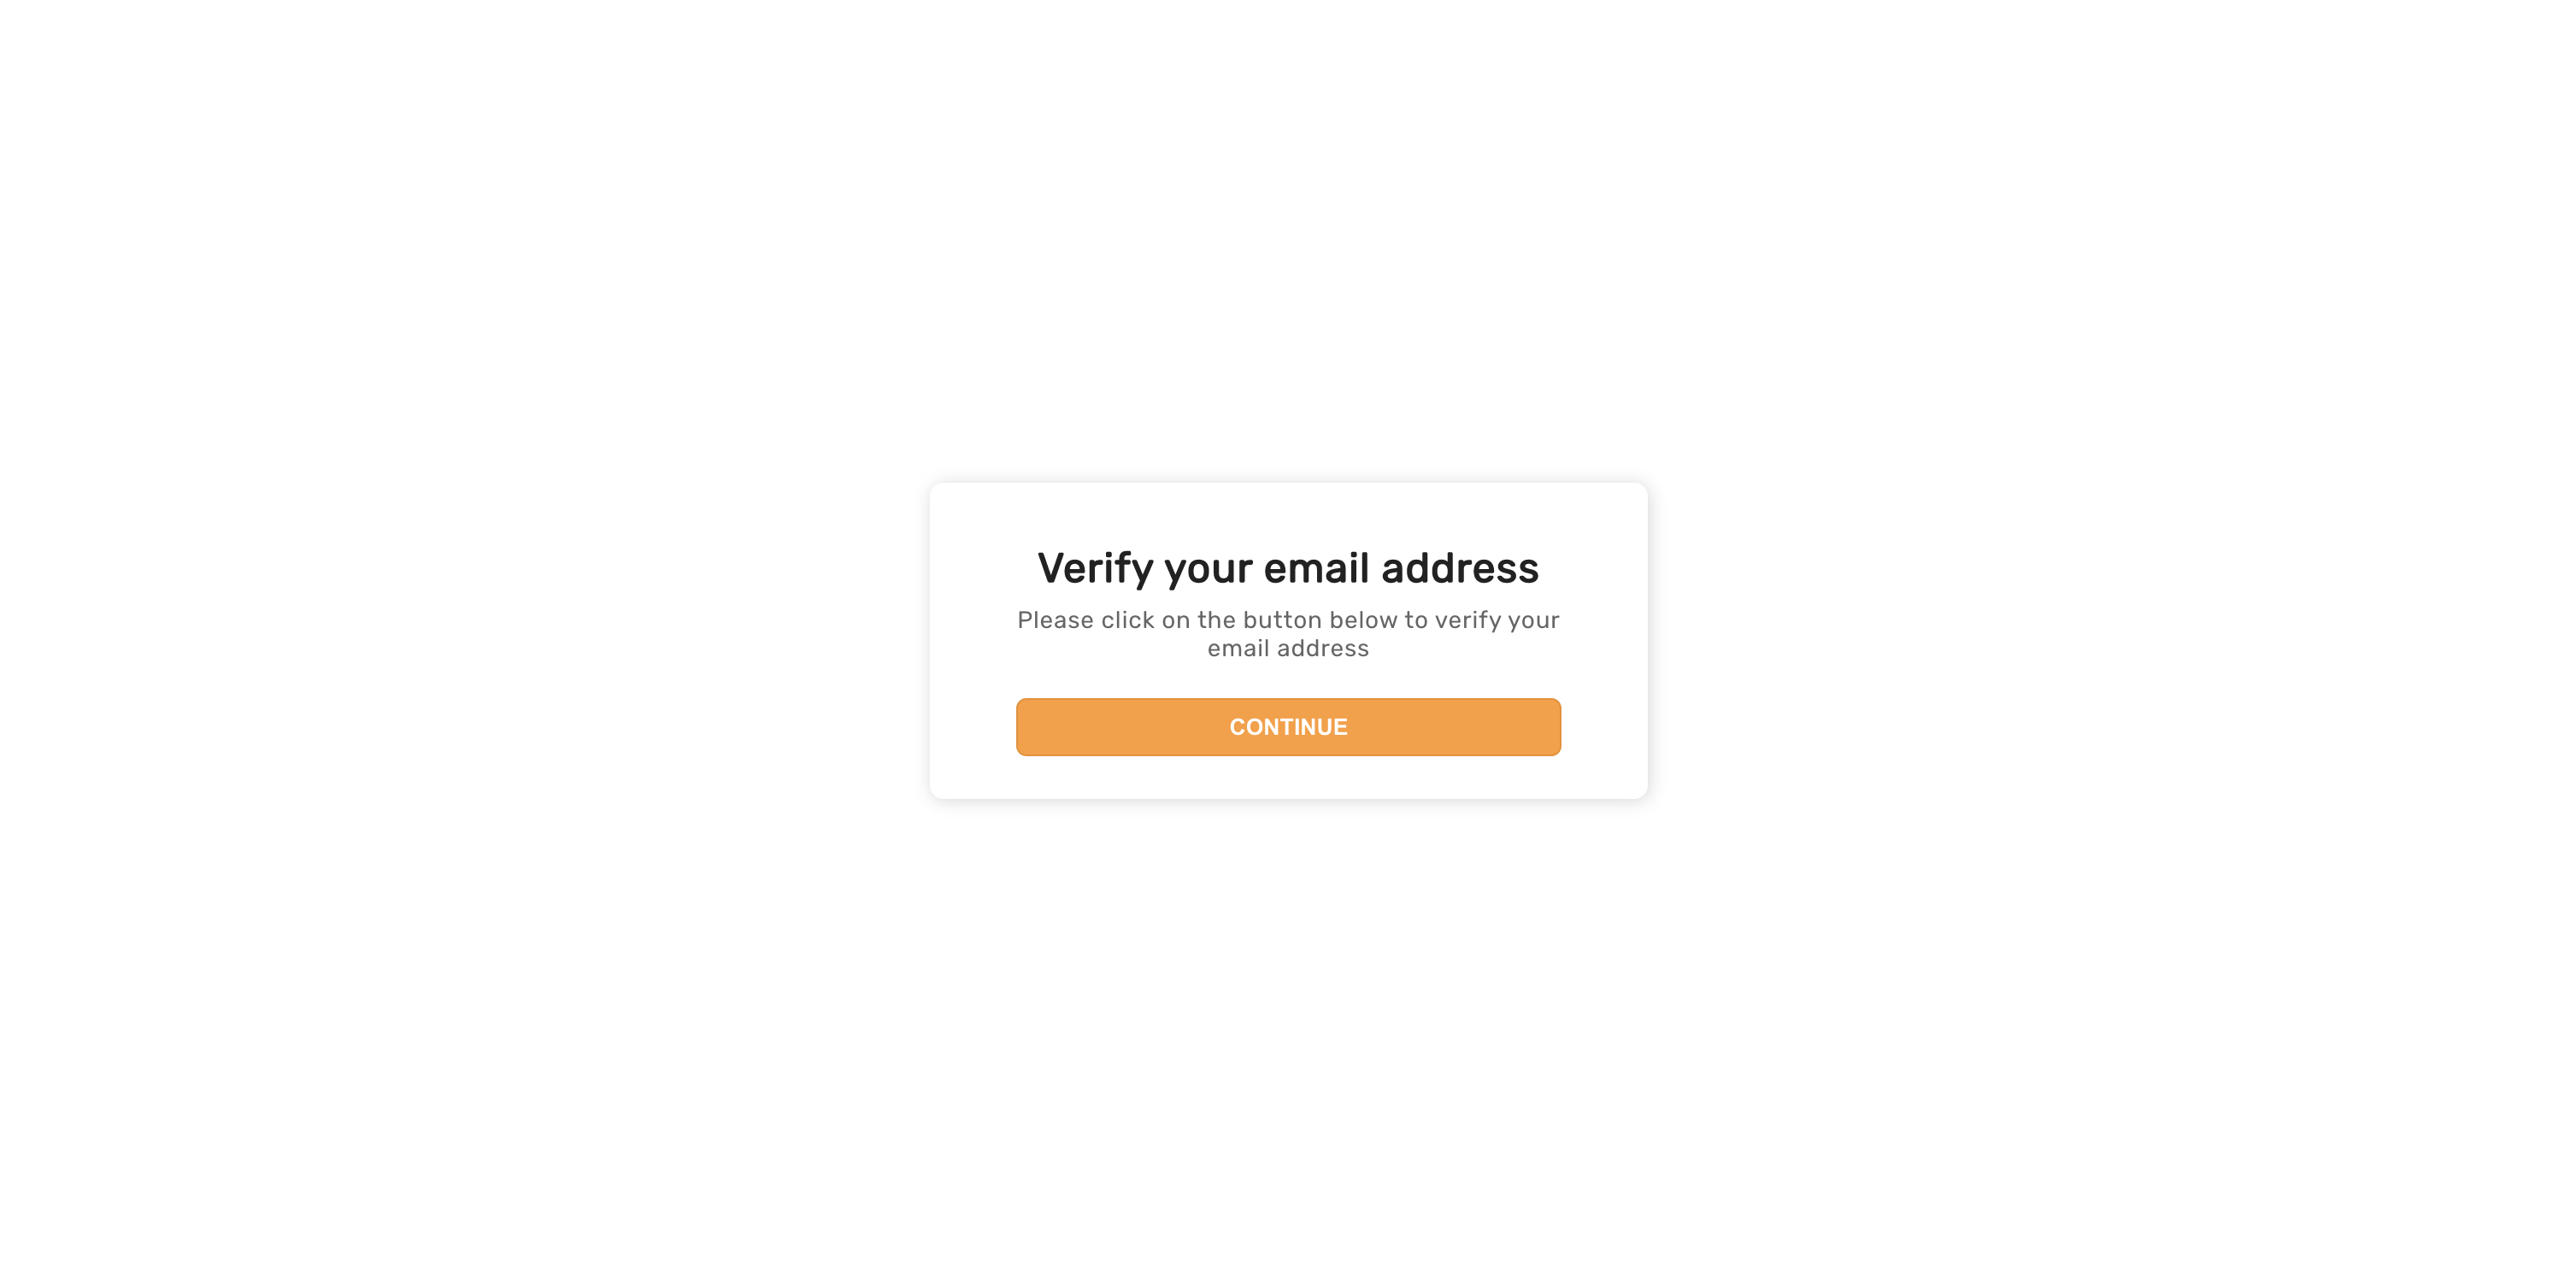
And then after they click on continue, they see the same screen as when a session did exist.
Expired link UI
If the user clicks on an email link that has expired, they see the following UI.
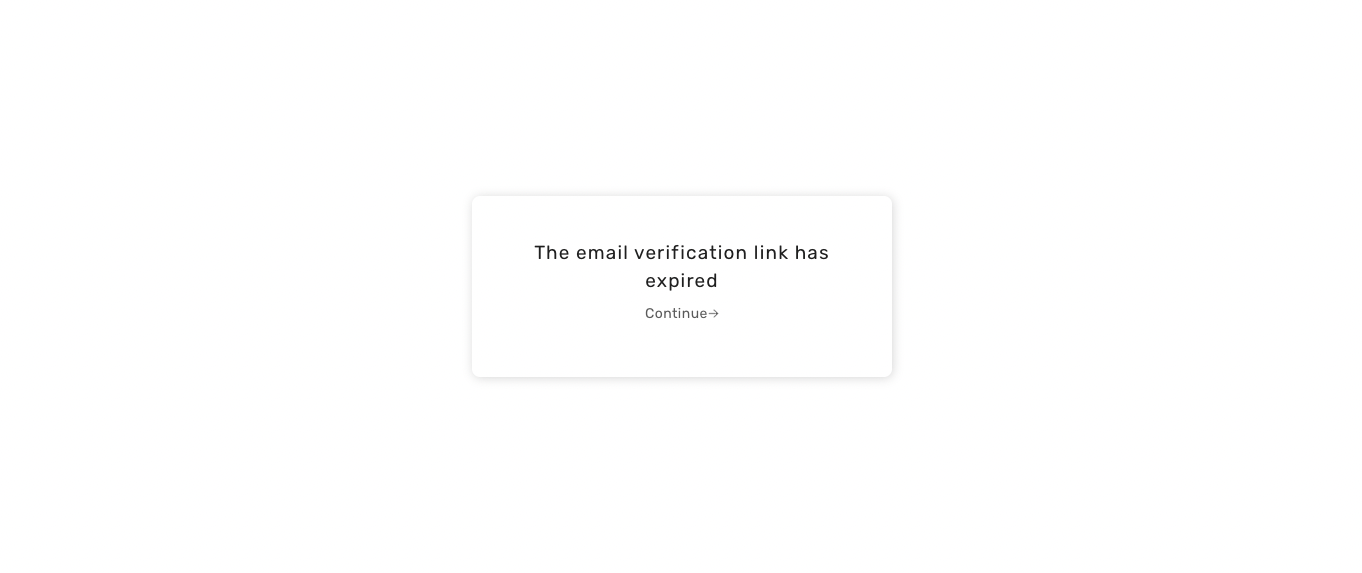
After clicking continue, they return to the email sent screen (if a session exists), or to the sign in page (if a session doesn’t exist).
General error UI
If there are network related errors, or the backend sends a status code >= 300, then the following UI appears.
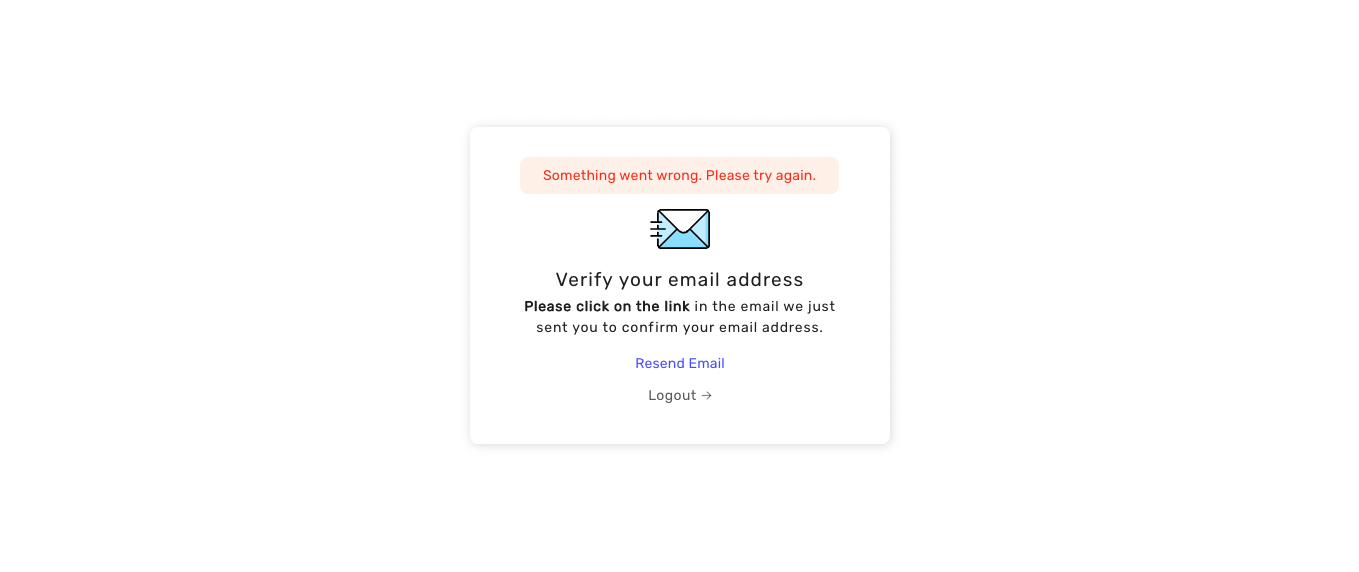
The below appears if something went wrong when the user clicked on the email verification link. To try again, they have to reload the page.
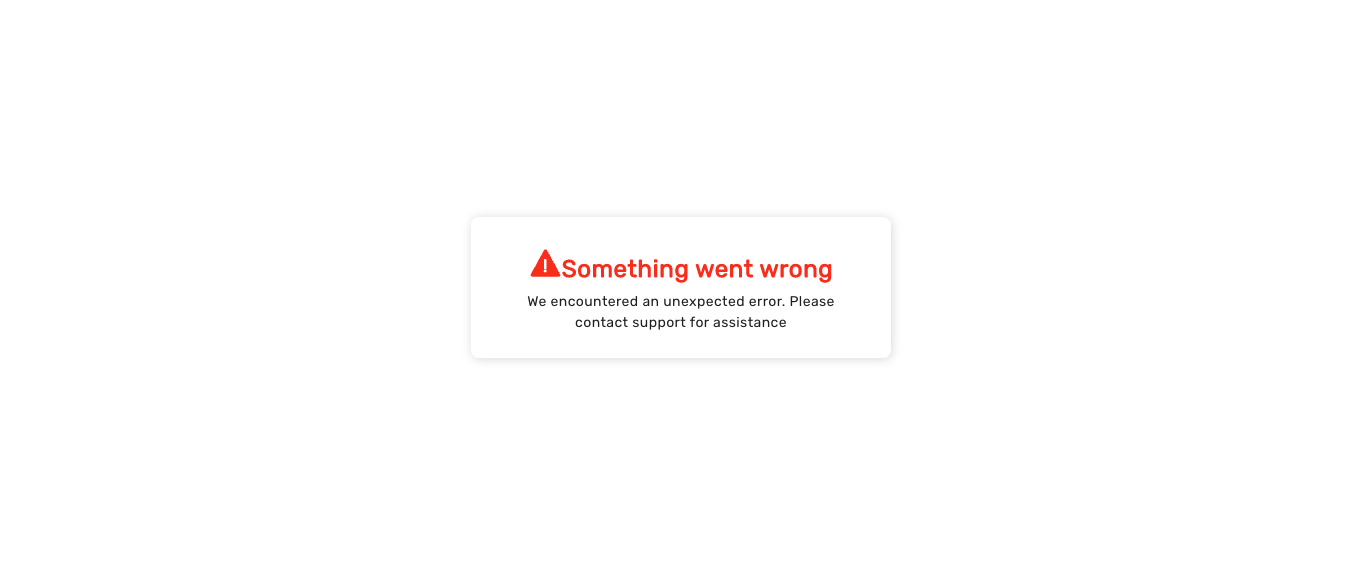
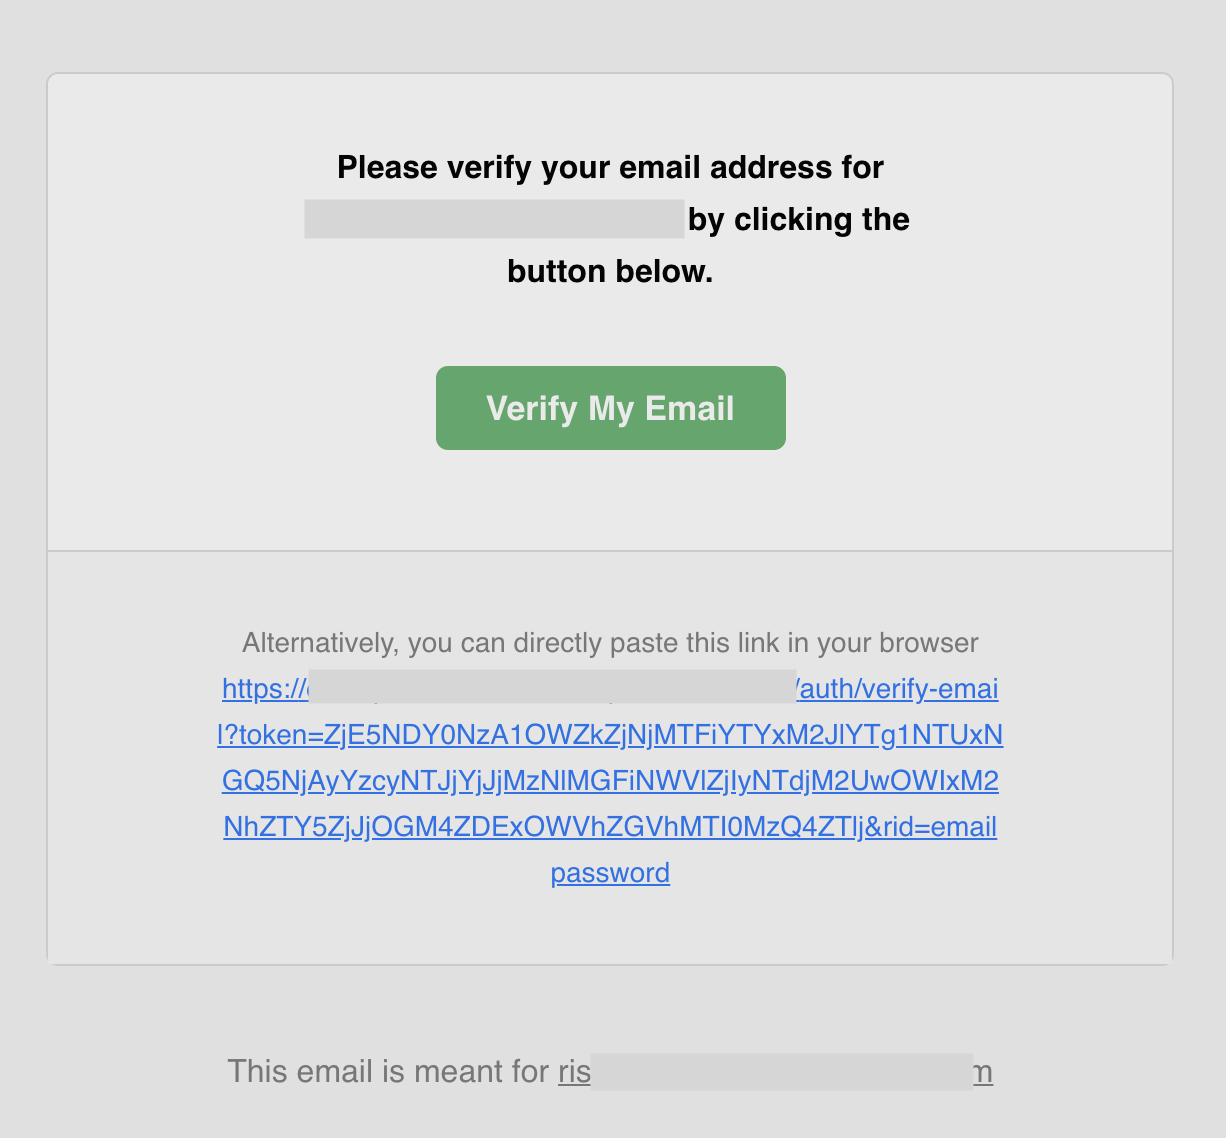
Default email UI
The default email sent for email verification appears below. The backend SDK sends it, which calls https://api.supertokens.com (the API infrastructure). Follow the link at the end of this page to see how you can change the email content or delivery method.
Password reset
Enter email form
This appears when the user clicks on the “Forgot password” button in the sign in form. You can view it if you visit /${websiteBasePath}/reset-password path of your website (default is /auth/reset-password).
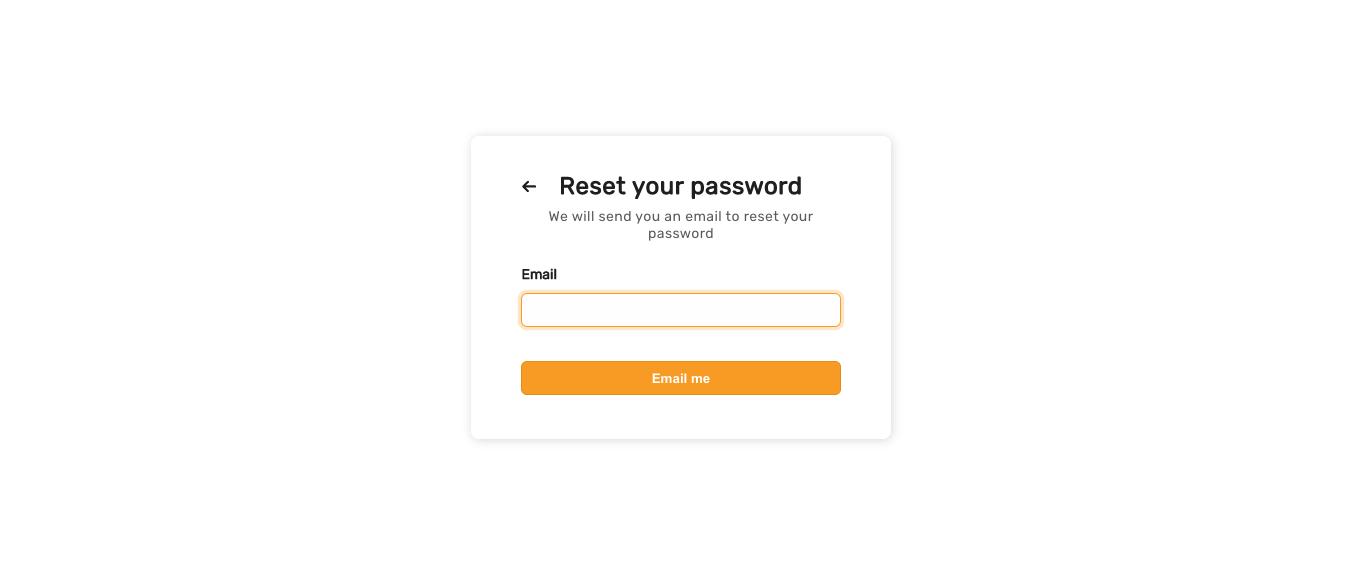
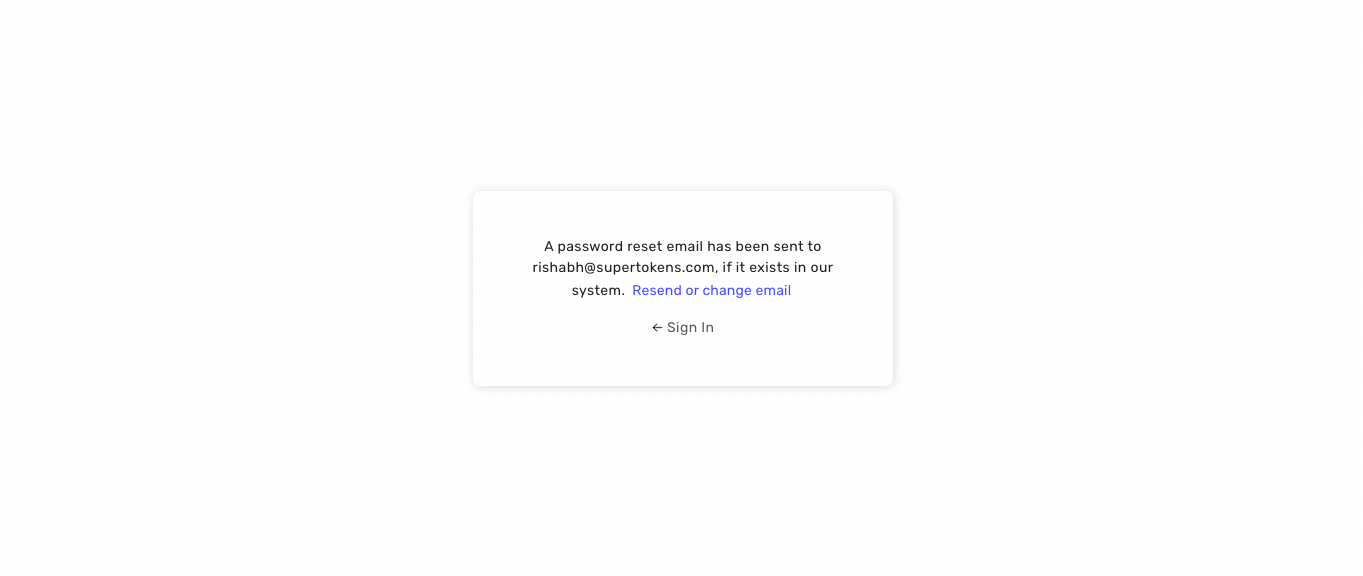
Once the user enters their email and clicks on the “Email” button, SuperTokens sends them an email only if that email belongs to an account. Regardless, the user always sees a success state:
Enter new password form
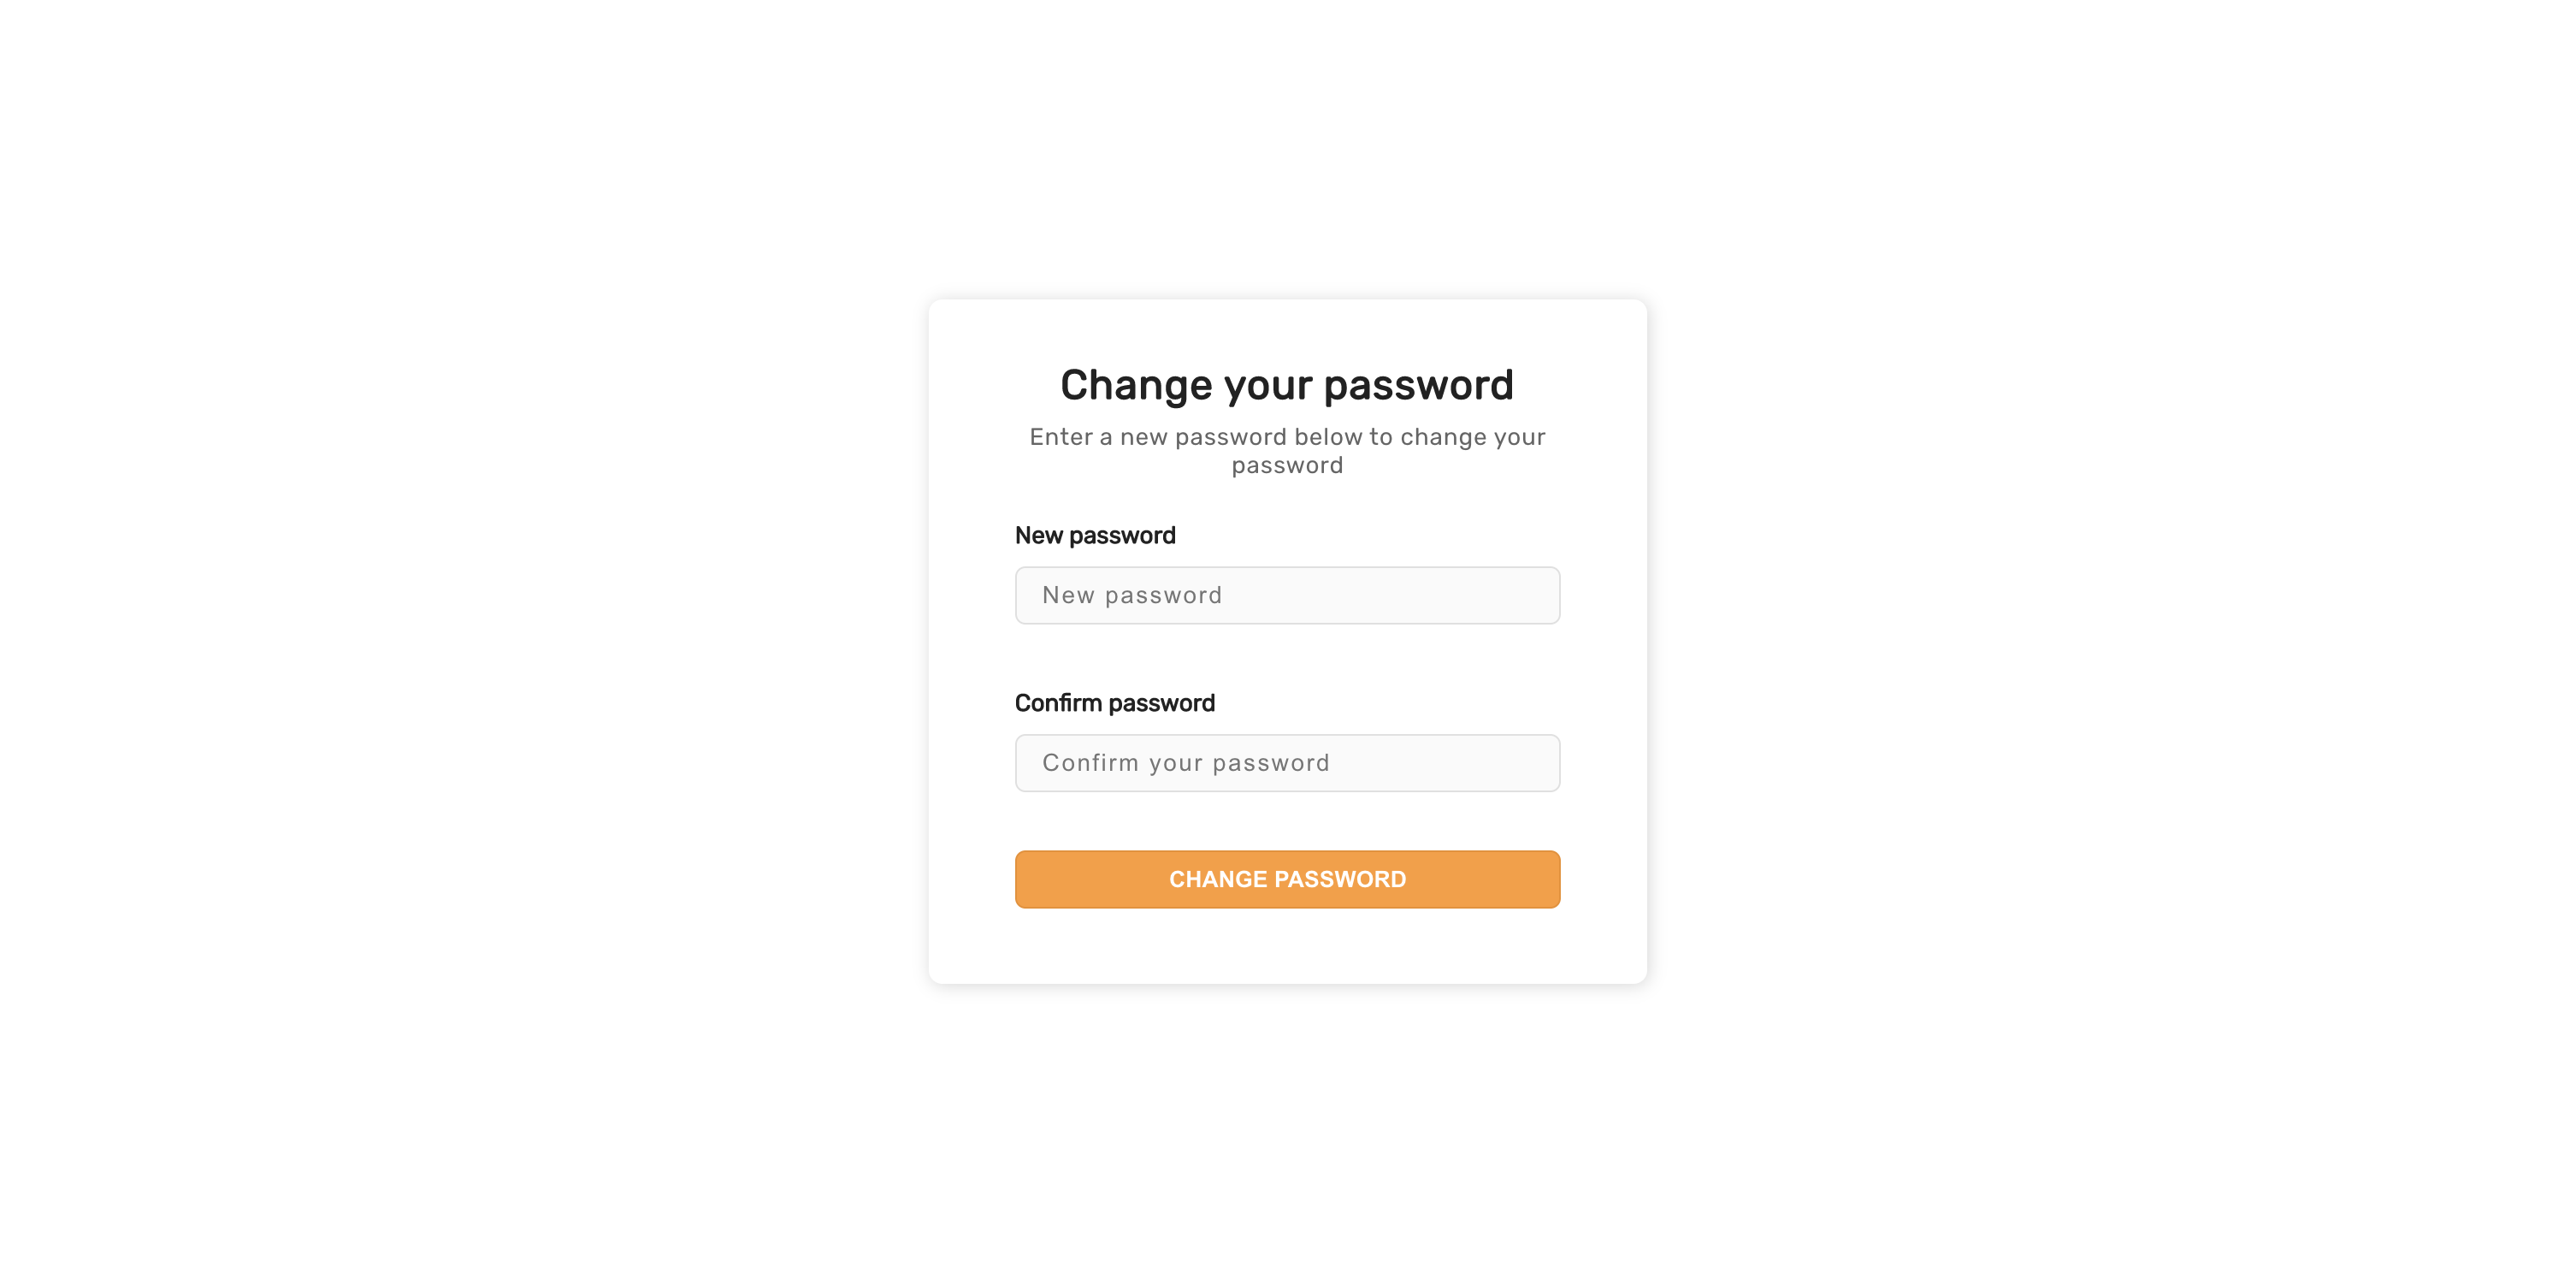
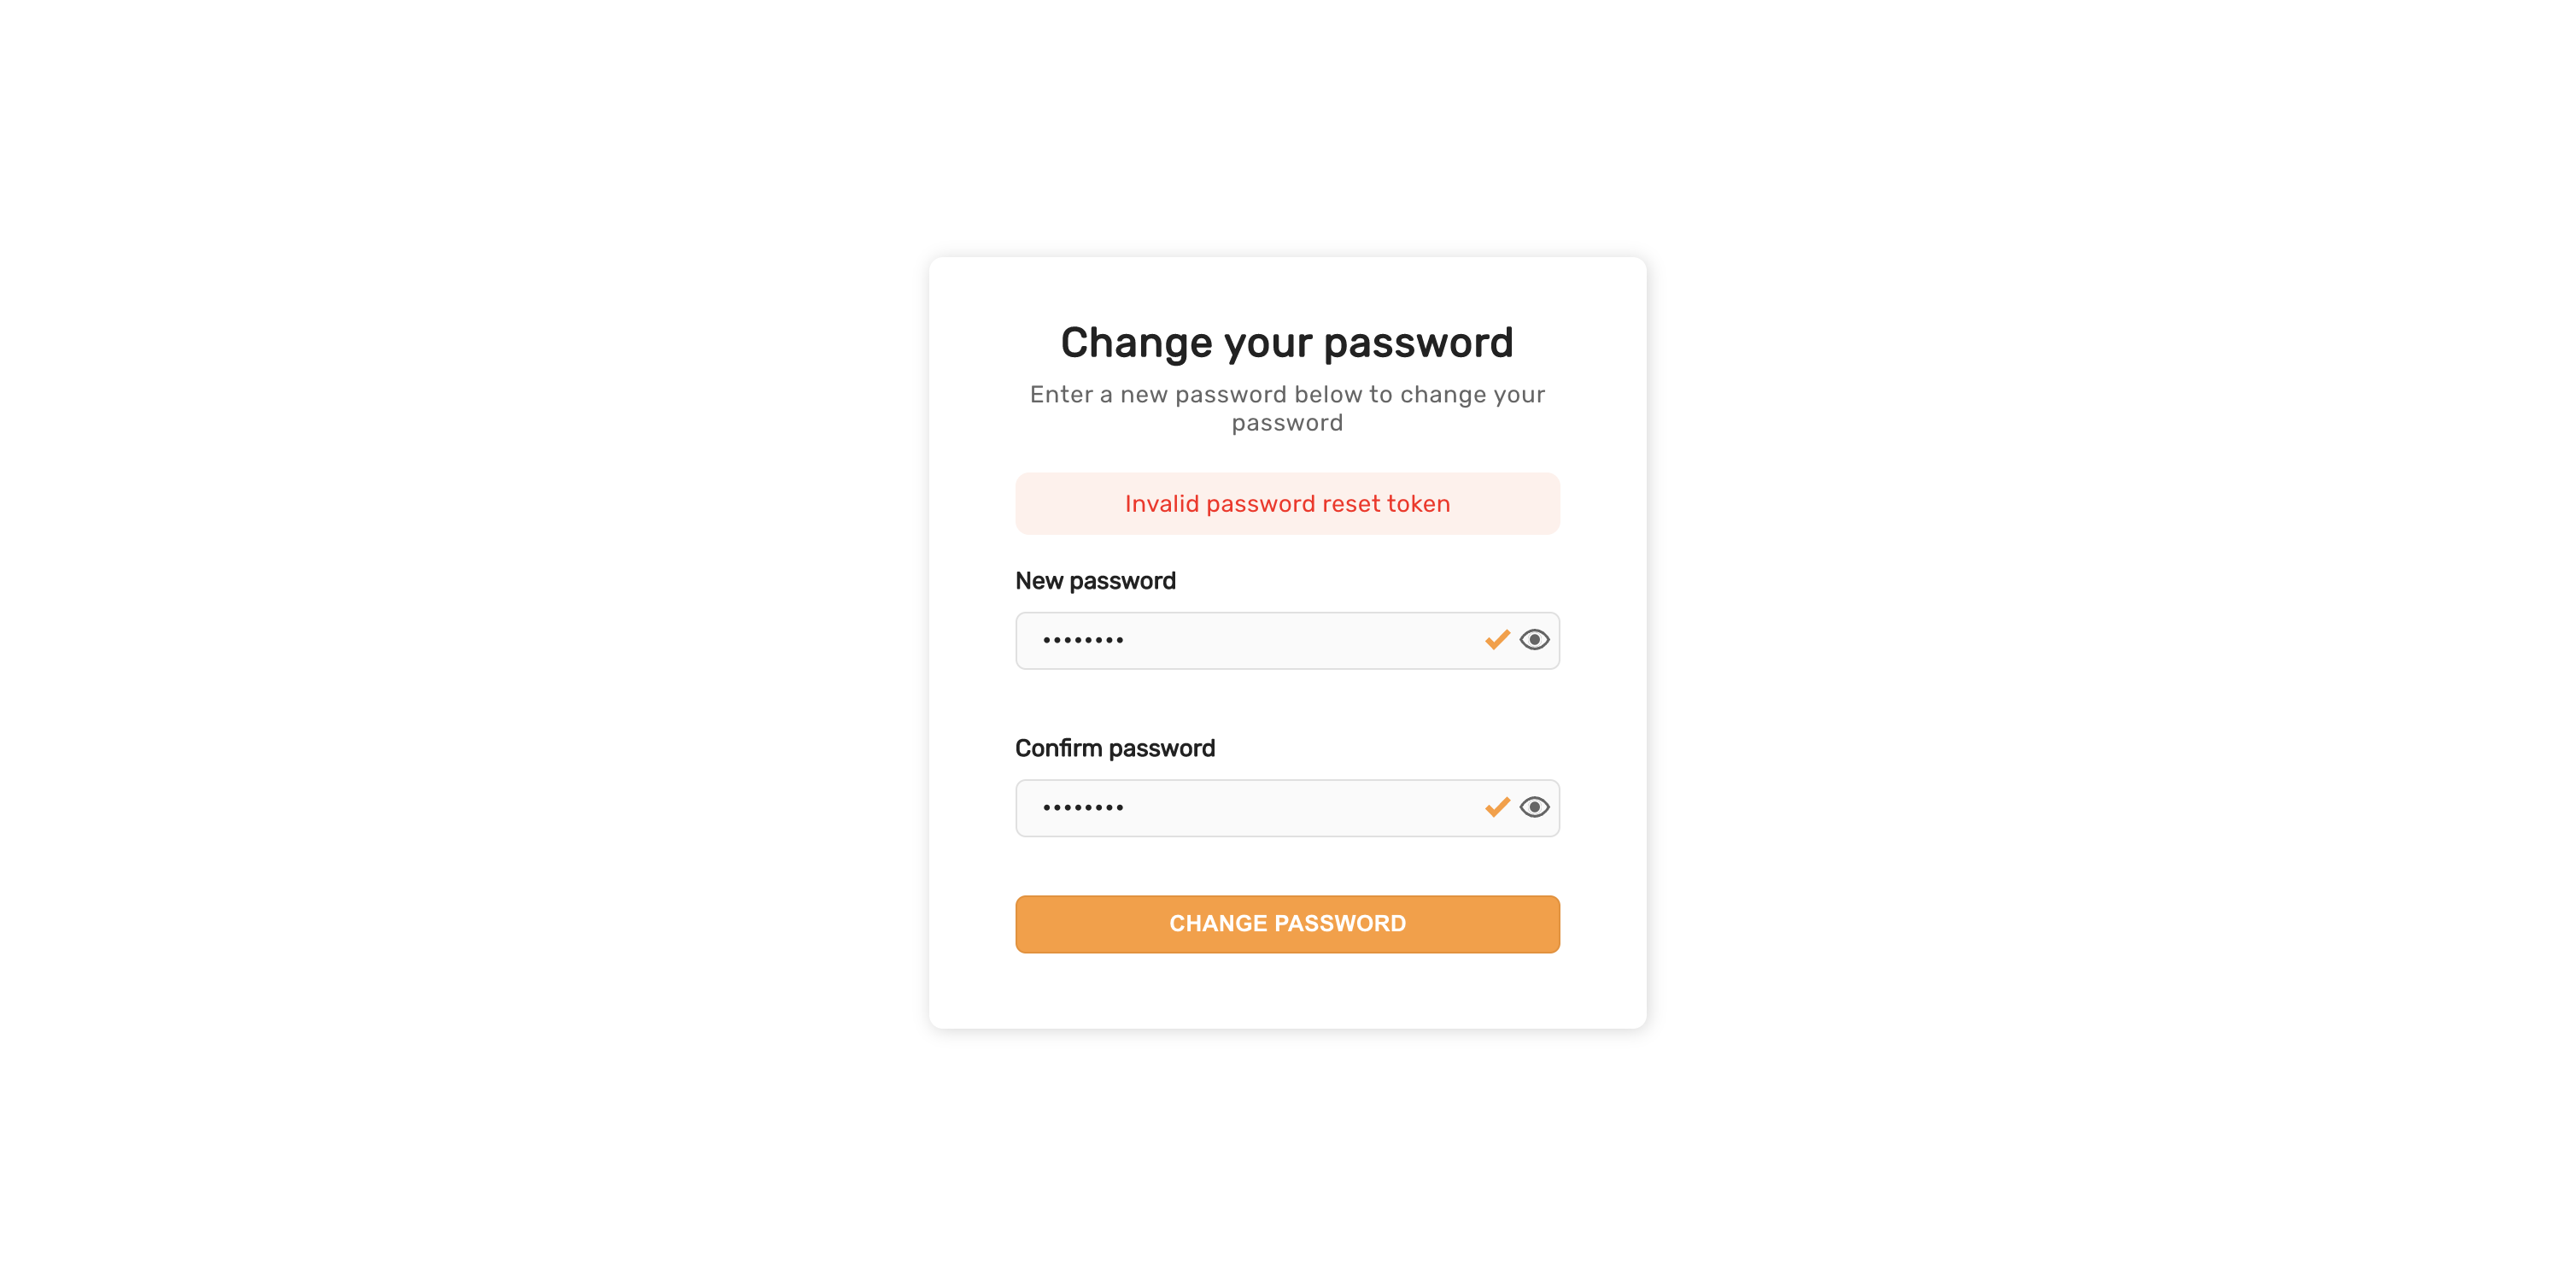
This form appears when the user clicks on the password reset link sent to their email. To view this form, you can navigate to /${websiteBasePath}/reset-password?token=test path of your website (default is /auth/reset-password?token=test).
Notice that the URL path is the same as that of the enter email form. However, there is an extra query parameter token which tells SuperTokens to show the enter new password form. If you try and submit a new password with the test token value, it fails since it’s not a valid password reset token.
If the reset token has expired or is invalid, the user sees the following message.
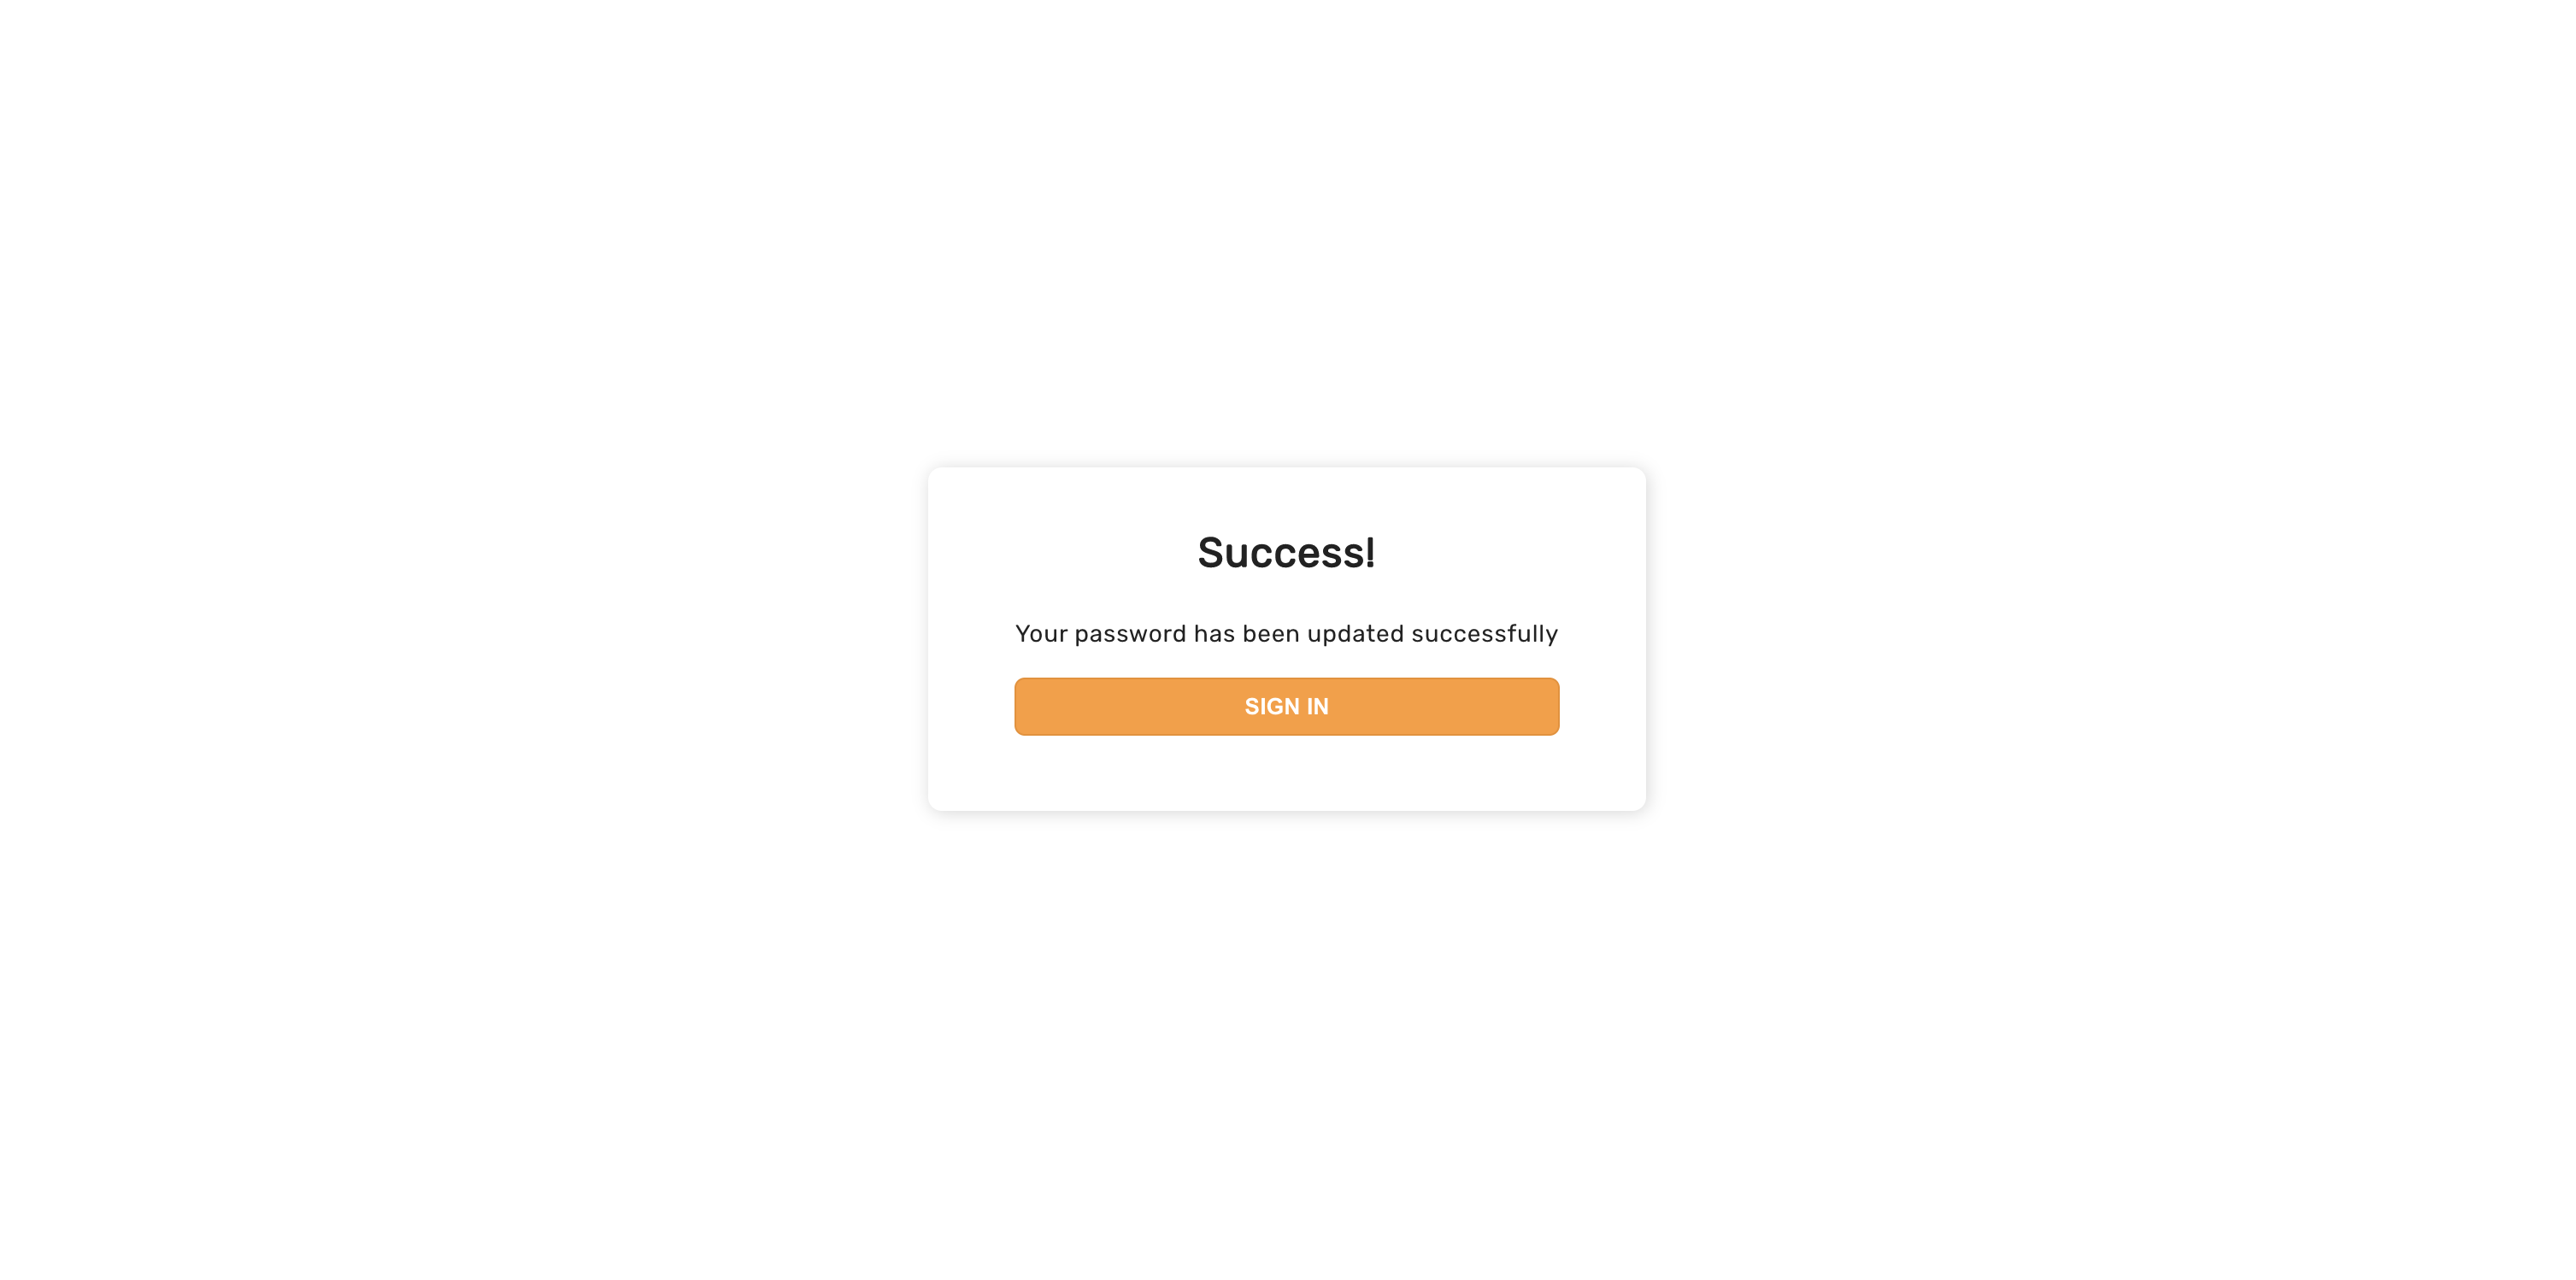
Once the user has successfully changed their password, they see the following success screen
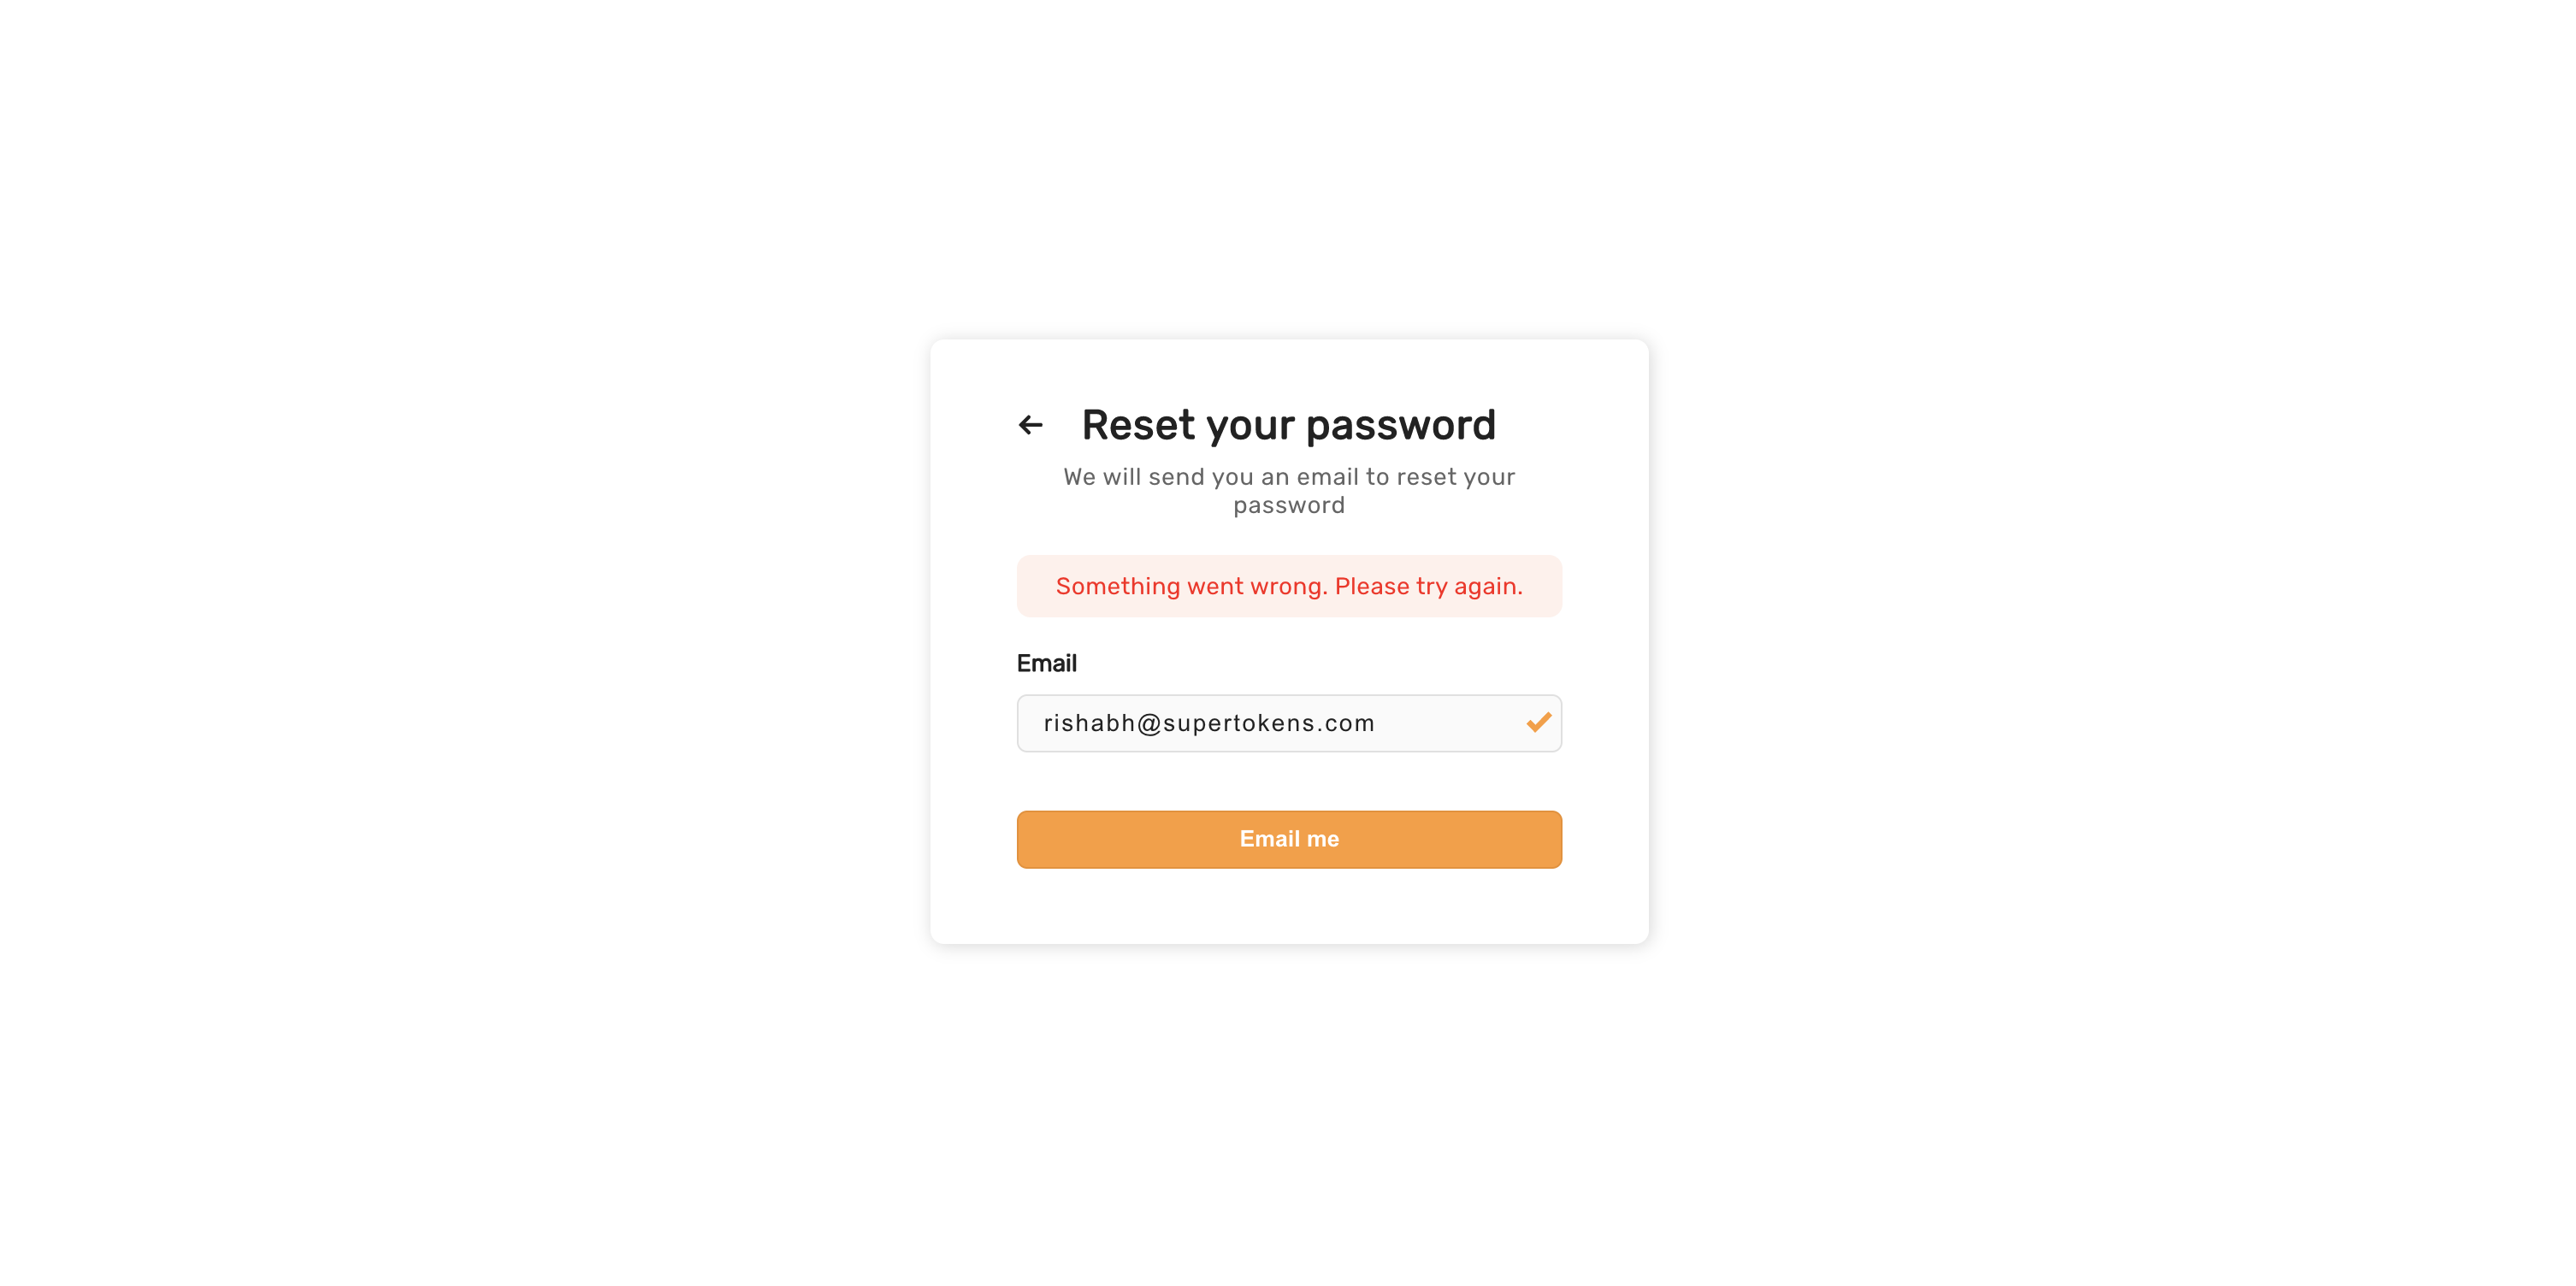
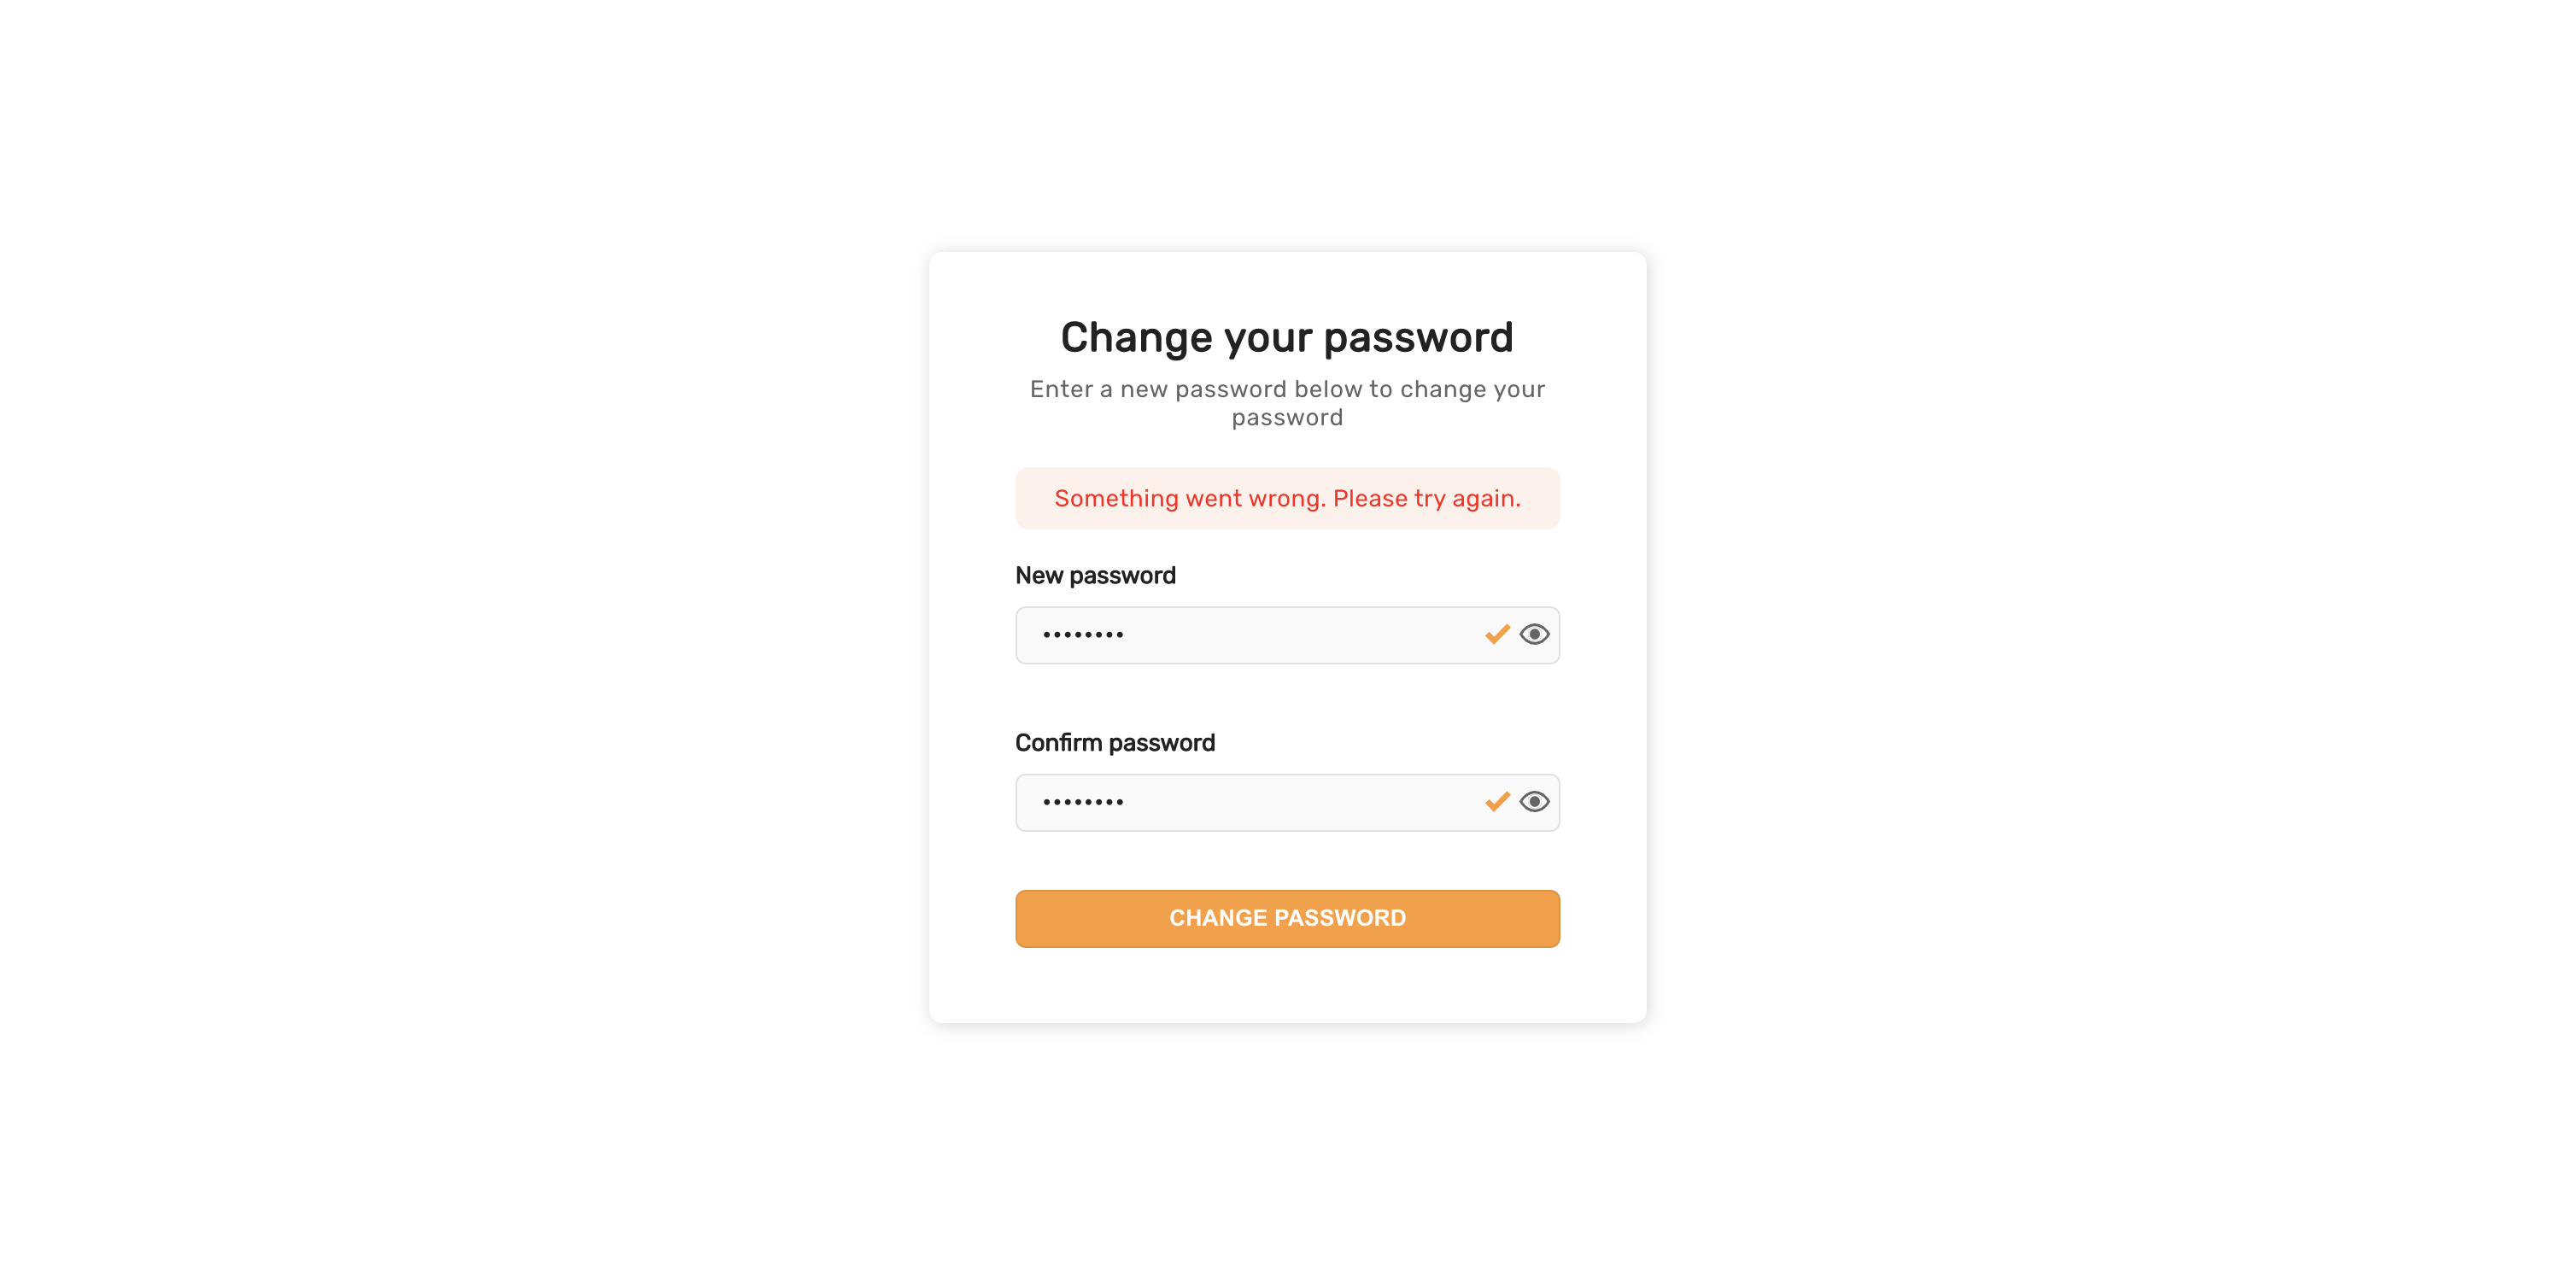
General error UI
If there are network related errors, or the backend sends a status code >= 300, then the following UI appears.
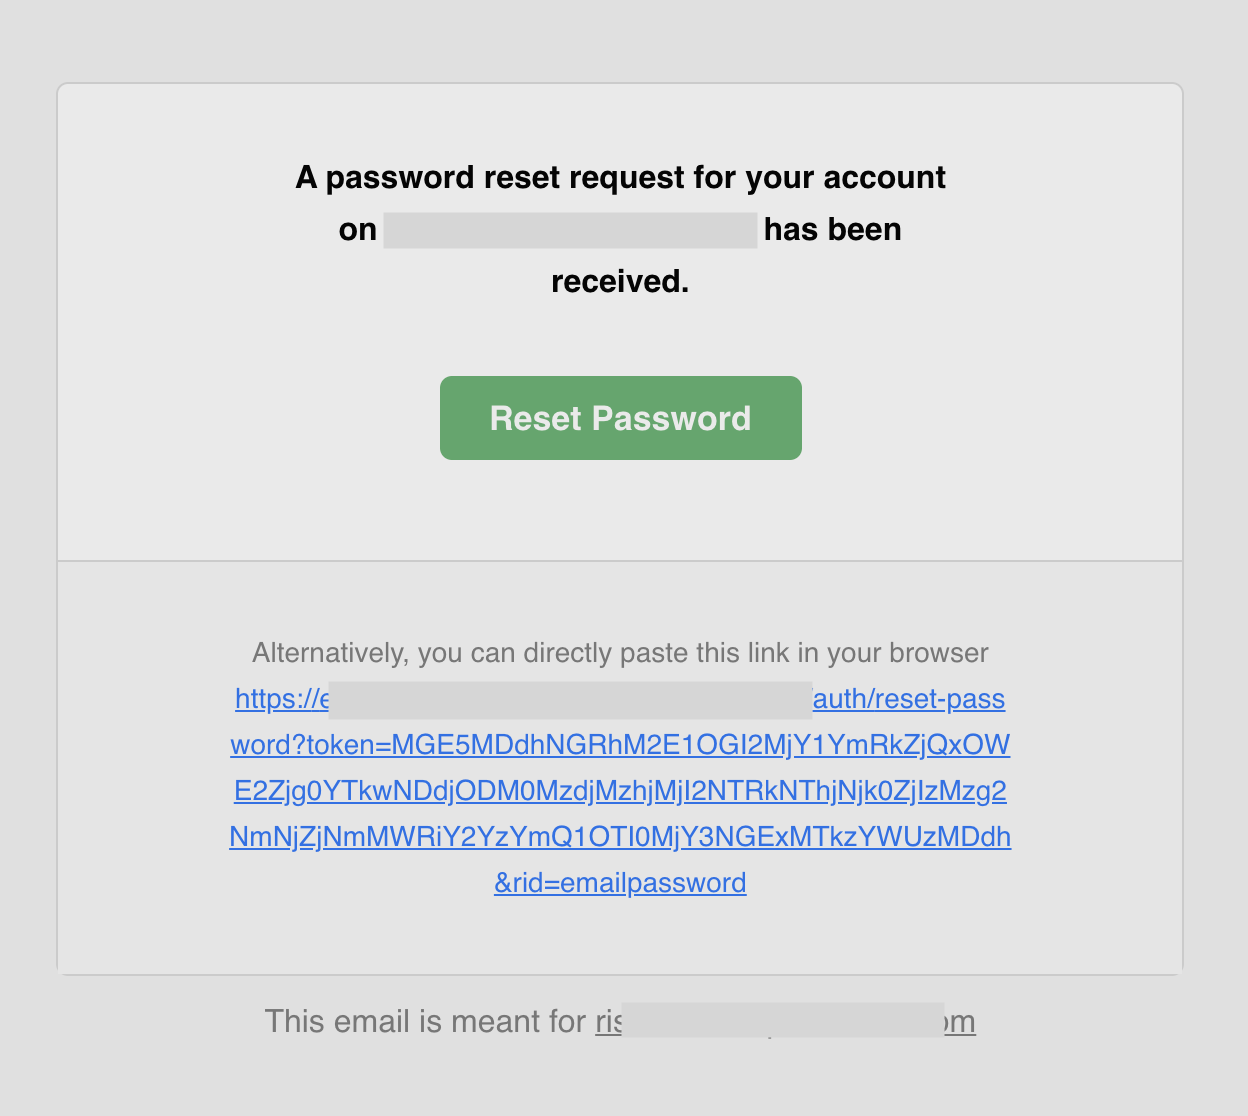
Password reset email UI
The default email sent for password reset appears below. The backend SDK sends it, which calls https://api.supertokens.com (the API infrastructure). See the links at the end of this page to change the email content or delivery method.
Passwordless login
Email or phone input UI
If the contactMethod is EMAIL_OR_PHONE, the user sees the following UI when they visit the login page.
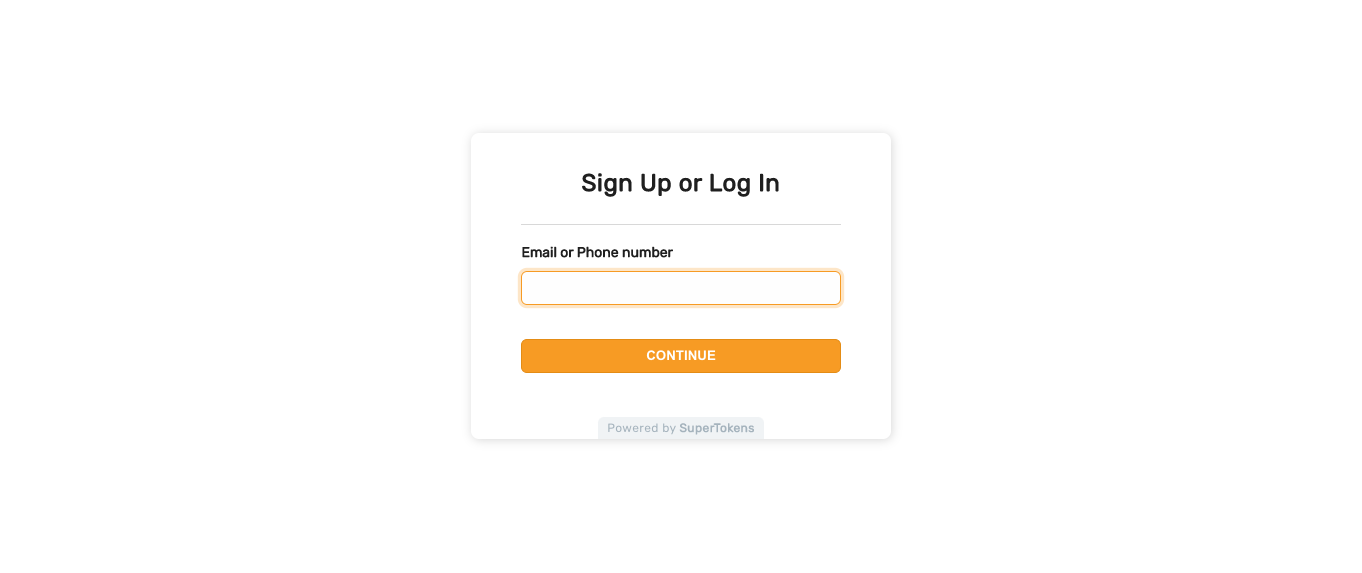
If the user decides to use their phone number and enters a valid phone number with their country code extension, they proceed to the next step. Otherwise, they see an error message asking them to also enter their country code. The UI also changes to show a dropdown containing a list of all countries (equal to the “Only phone input UI” shown below).
Only email input UI
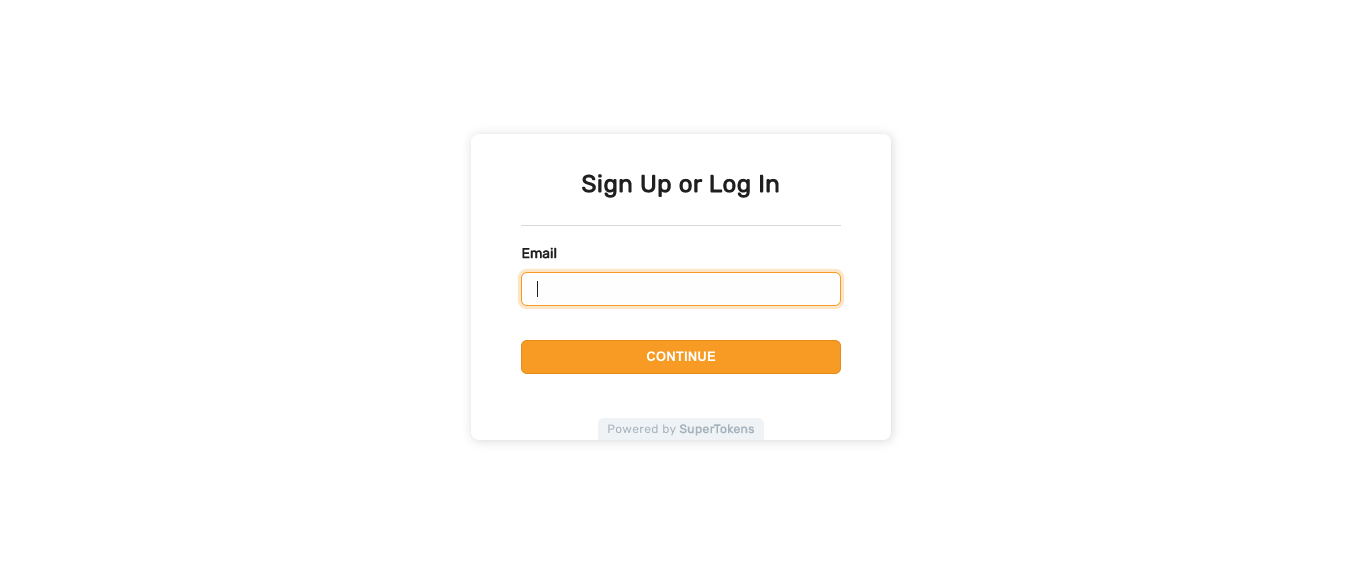
If the contactMethod is EMAIL, the user sees the following UI when they visit the login page.
Only phone input UI
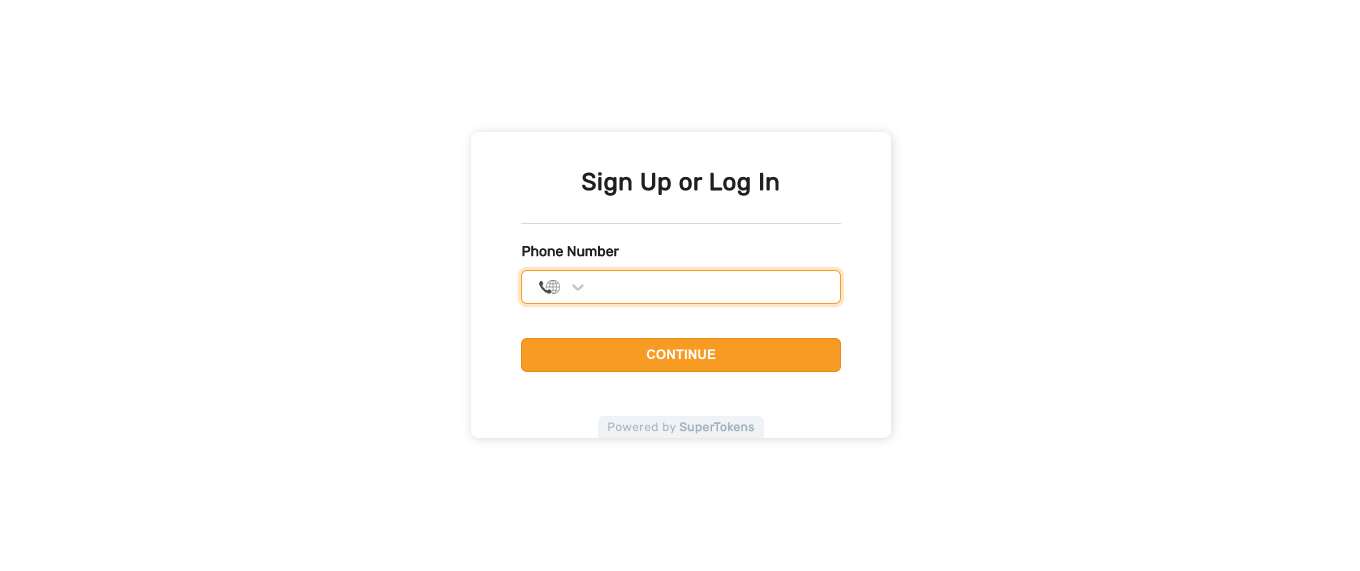
If the contactMethod is PHONE, the user sees the following UI when they visit the login page.
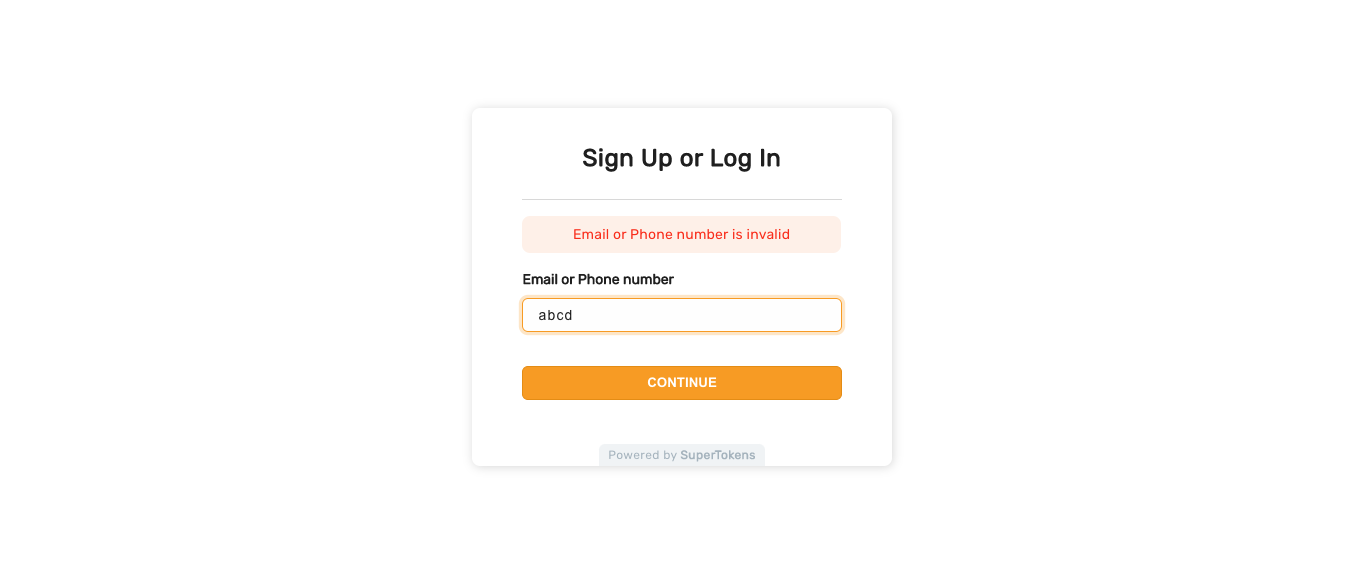
Invalid email or phone input UI
If the user enters an invalid phone or email, they see the following message
Magic link sent screen
If the value of flowType on the backend is MAGIC_LINK, then after the user has submitted their phone or email, they see the following UI.
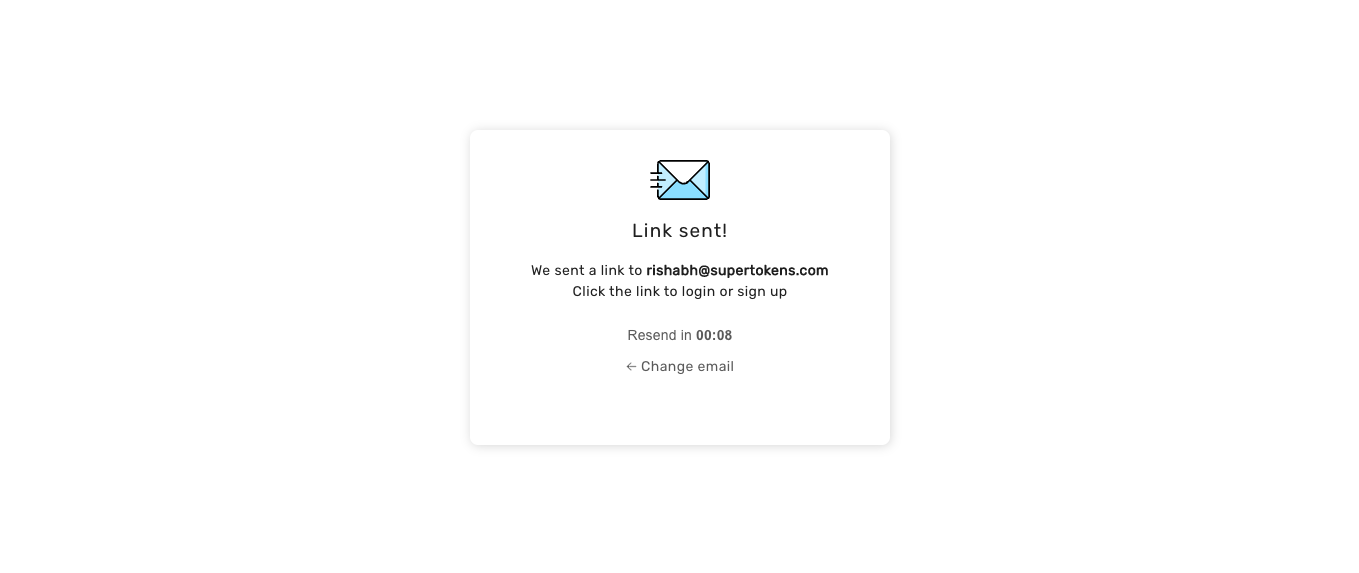
As you can see, a timer makes the user wait for a certain time (15 seconds by default) before they can resend the SMS / email. A button below the input allows them to change the email / SMS (the text on the button changes based on if the user entered an email or phone number).
Magic link clicked screens
The magic link is of the format: <YOUR_WEBSITE_DOMAIN>//auth/verify?tenantId=...&preAuthSessionId=<token1>#<token2>.
On same device
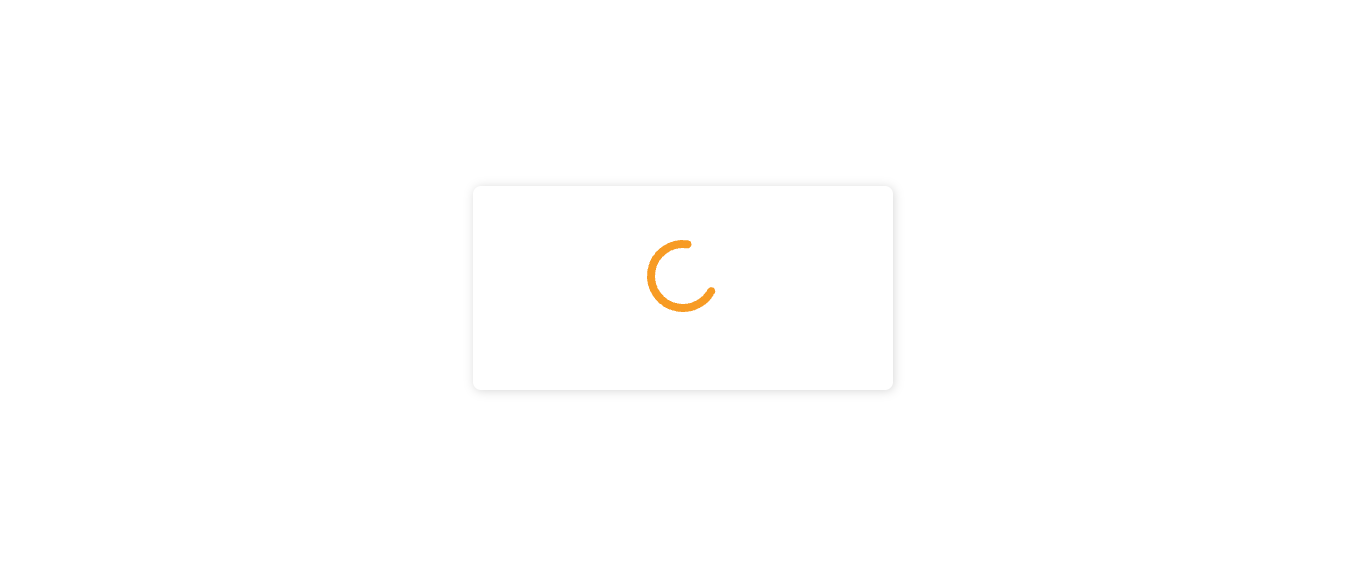
When the user clicks the magic link and opens it on the same device on which they initiated the flow, they see the following UI before redirecting to the sign in success page (/ by default). On this screen, SuperTokens automatically extracts the two tokens from the magic link URL. It tries to consume them on the backend to log the user in.
On different device
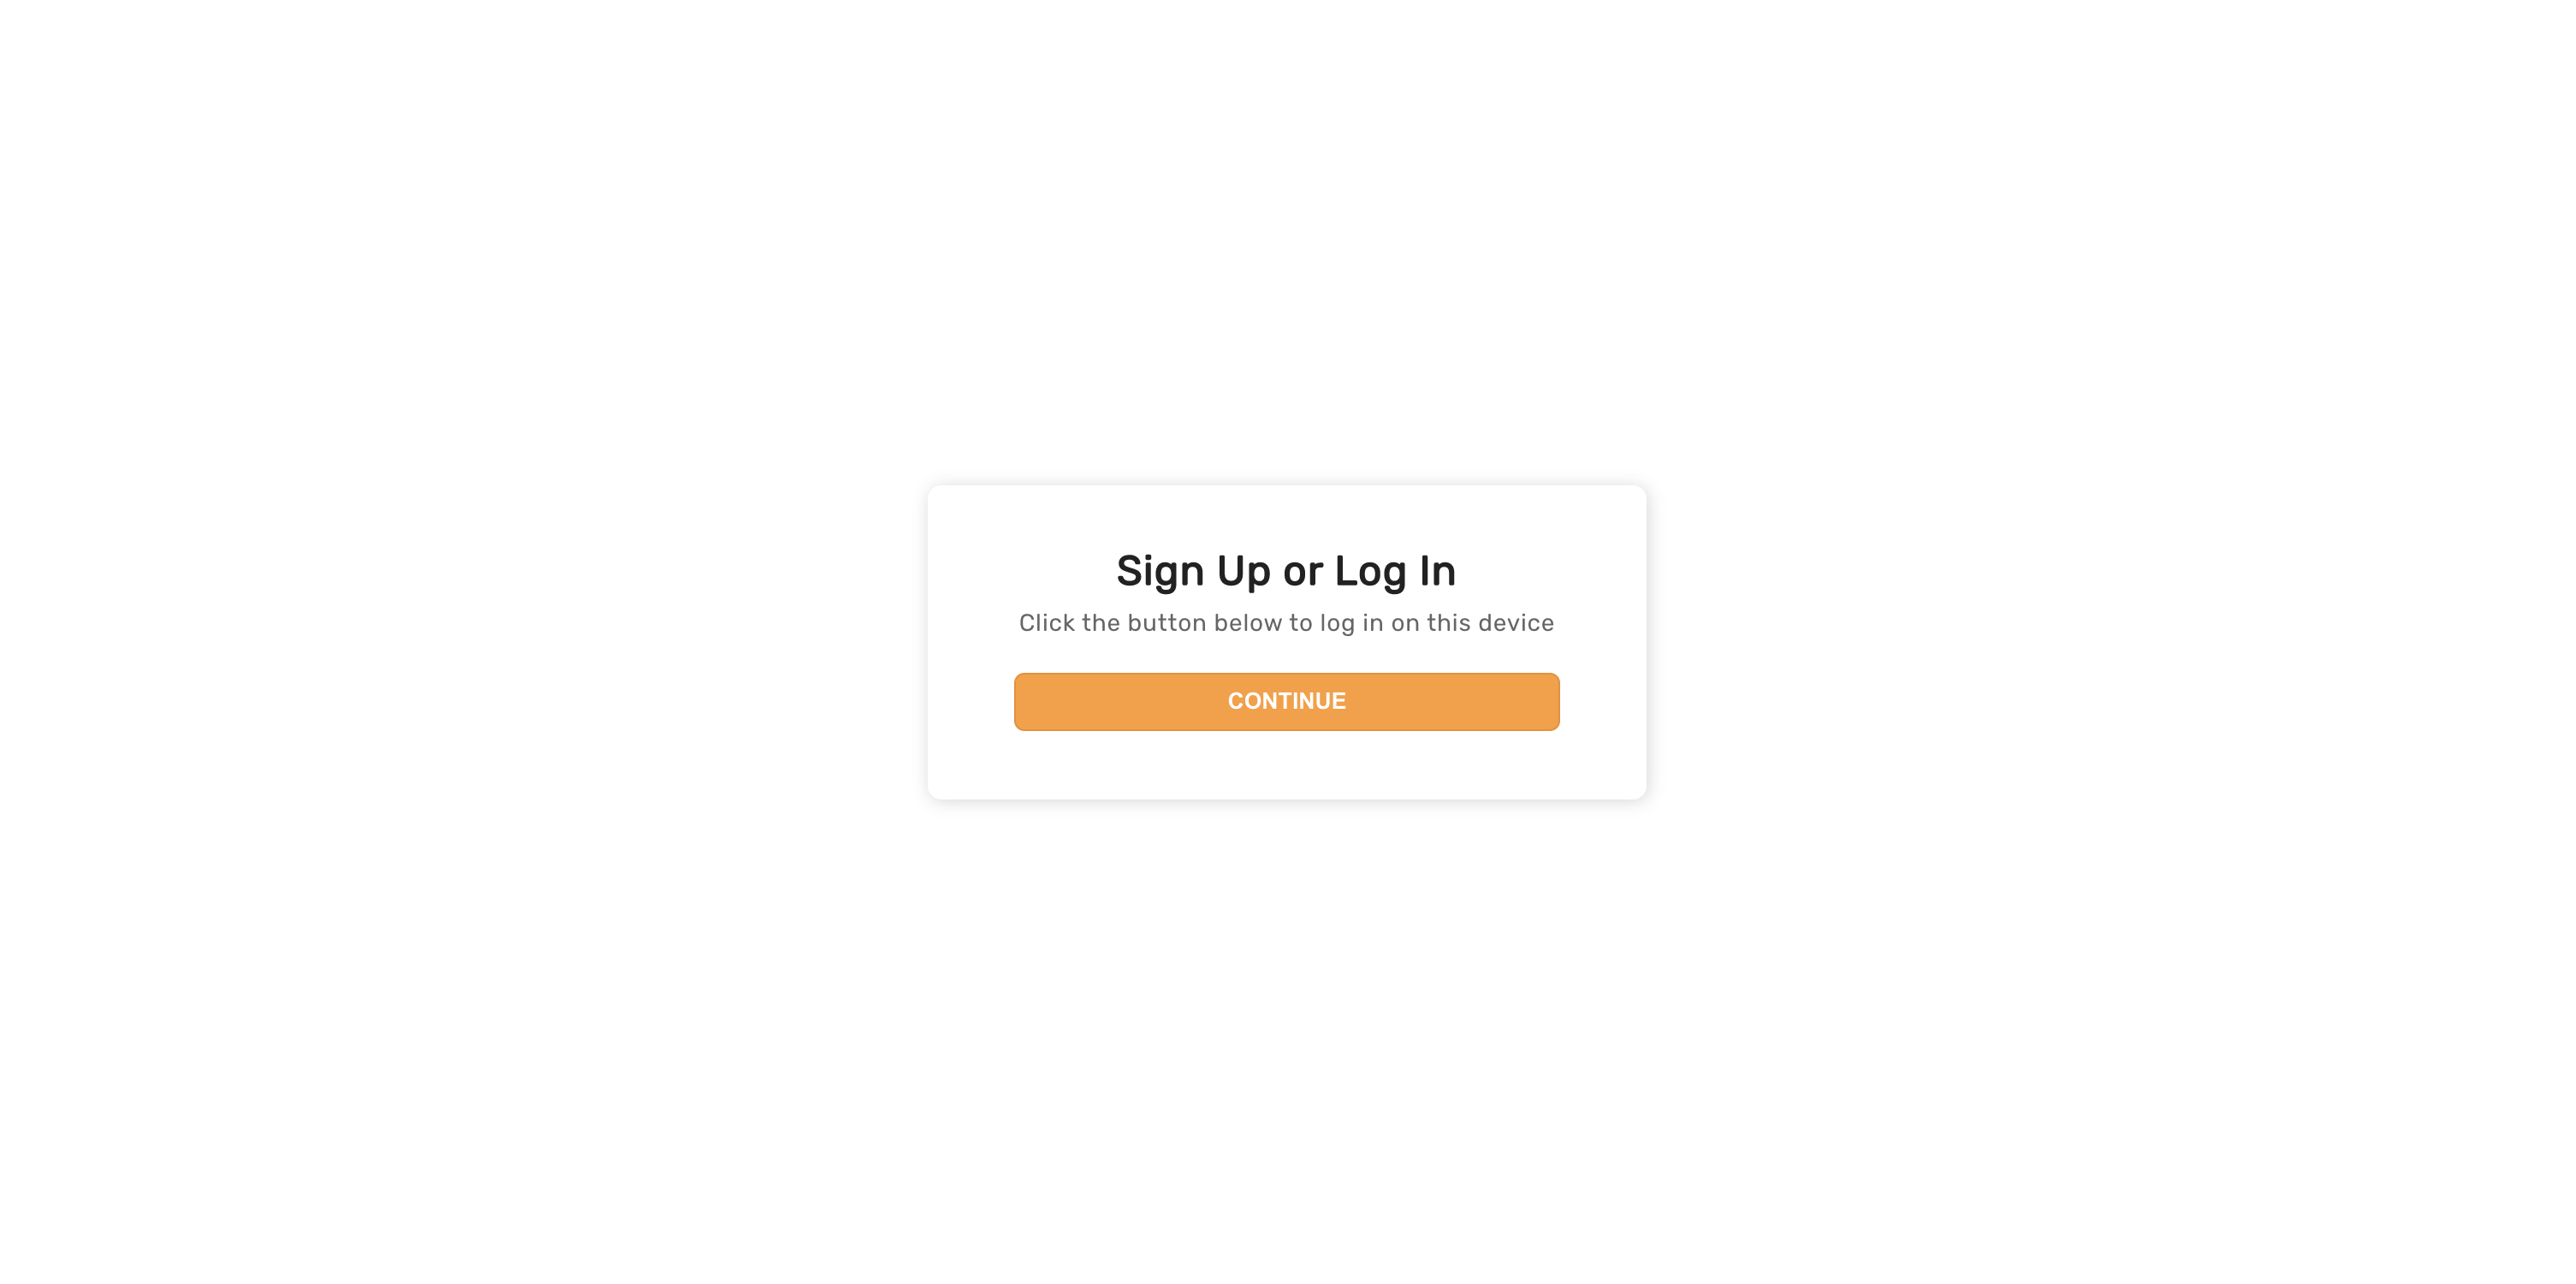
If the user opens the magic link on a different device, they must take an action before consuming tokens from the link. This prevents email clients from automatically consuming the tokens if they crawl links in the email.
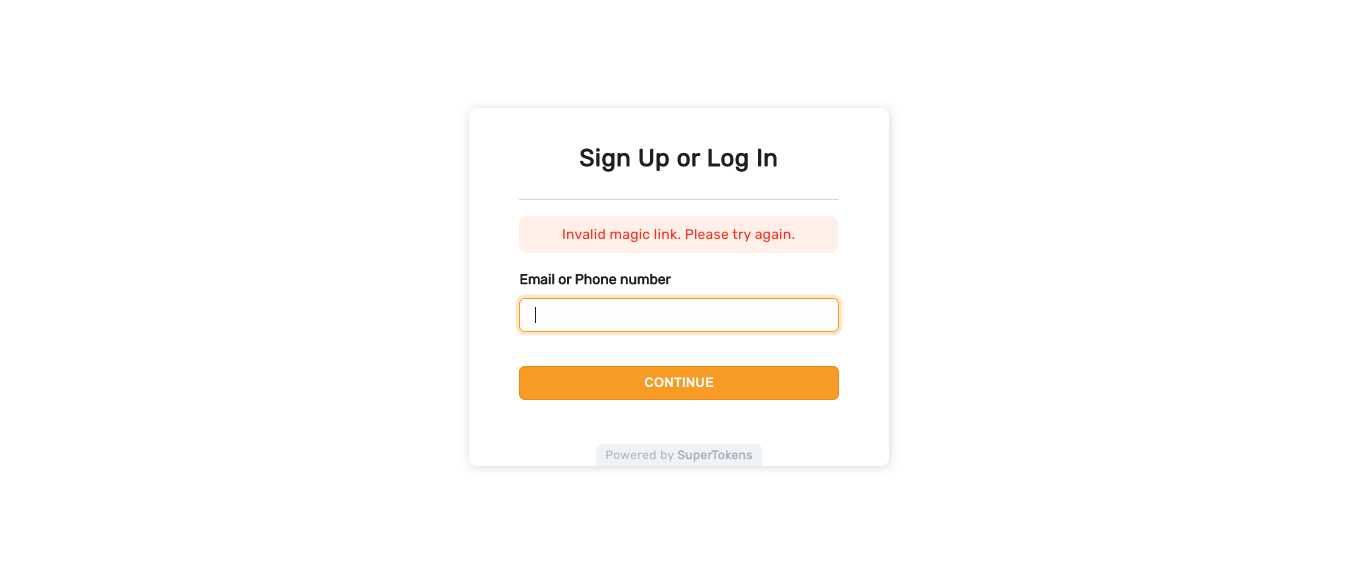
Invalid / expired magic link UI
If the user clicks on an invalid magic link or if the token in the magic link has expired, they see the login screen with the following message
Enter OTP screen
If login via OTP is active, then the user sees this screen immediately after their enter their phone number / email.
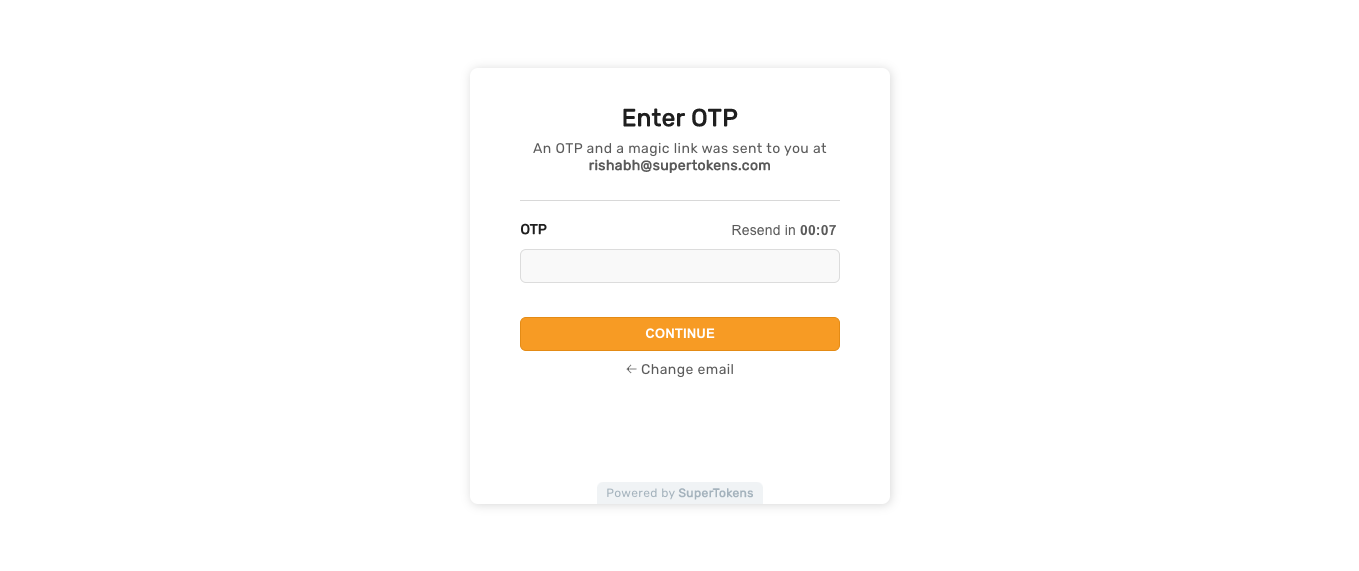
As you can see, a timer makes the user wait for a certain time (15 seconds by default) before they can resend the SMS / email. A button below the input allows them to change the email / SMS (the text on the button changes based on if the user entered an email or phone number).
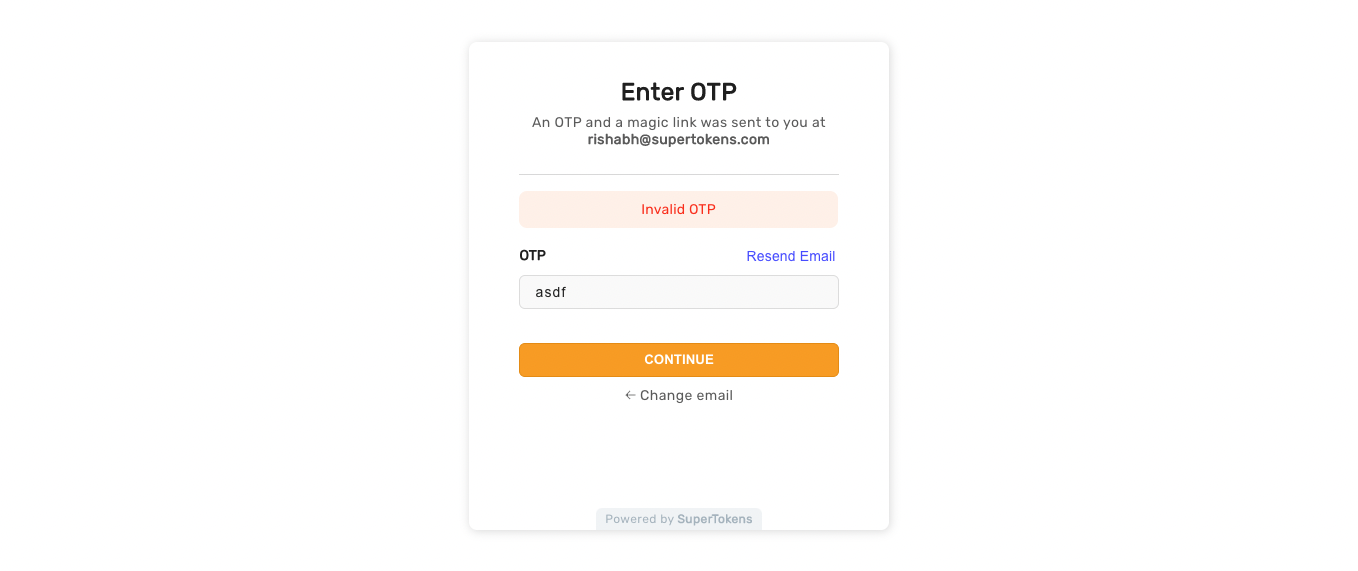
Invalid OTP
If the user enters an incorrect OTP, this is what they see.
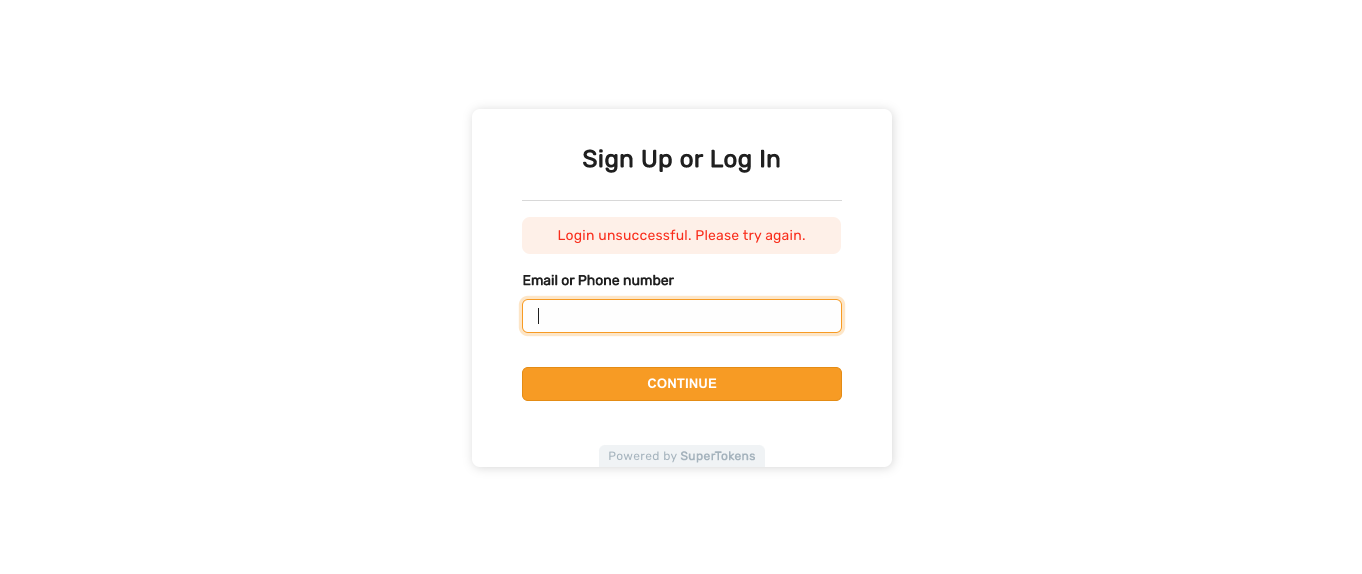
Entering an incorrect OTP too many times results in the user navigating back to the login screen with the following message.
Logging in via OTP and Magic link simultaneously
An edge case occurs wherein the end user gets both an OTP and a magic link. Whilst viewing the enter OTP screen, they also click on the magic link. The magic link click opens a new tab and consumes the link to log the user in. The enter OTP screen continues to show the enter OTP UI until the user refreshes the page. After the refresh, it redirects to the post login screen.
Default email and SMS template
You can find the email and SMS templates along with their UI in one of the GitHub repositories.
You can change the content of the email & SMSs and / or how they send. For more information on this, please see the links at the end of this page.
General errors
If there are network related errors, or the backend sends a status code >= 300, then the following UI shows. This UI also appears if there is a similar error in the callback page.
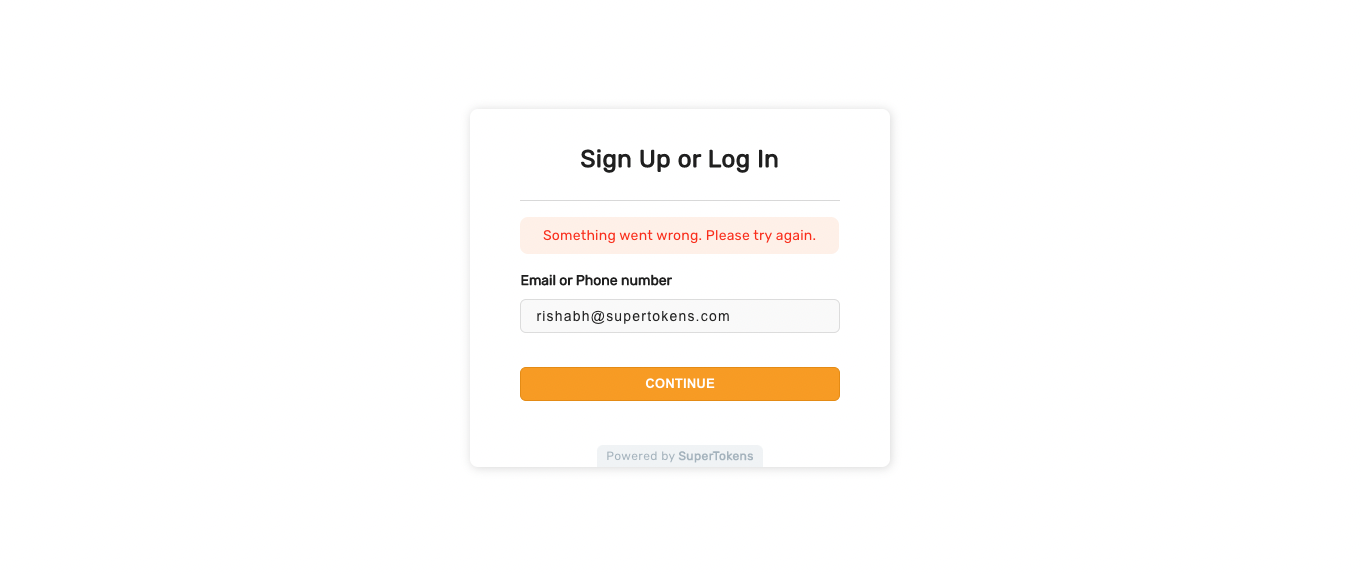
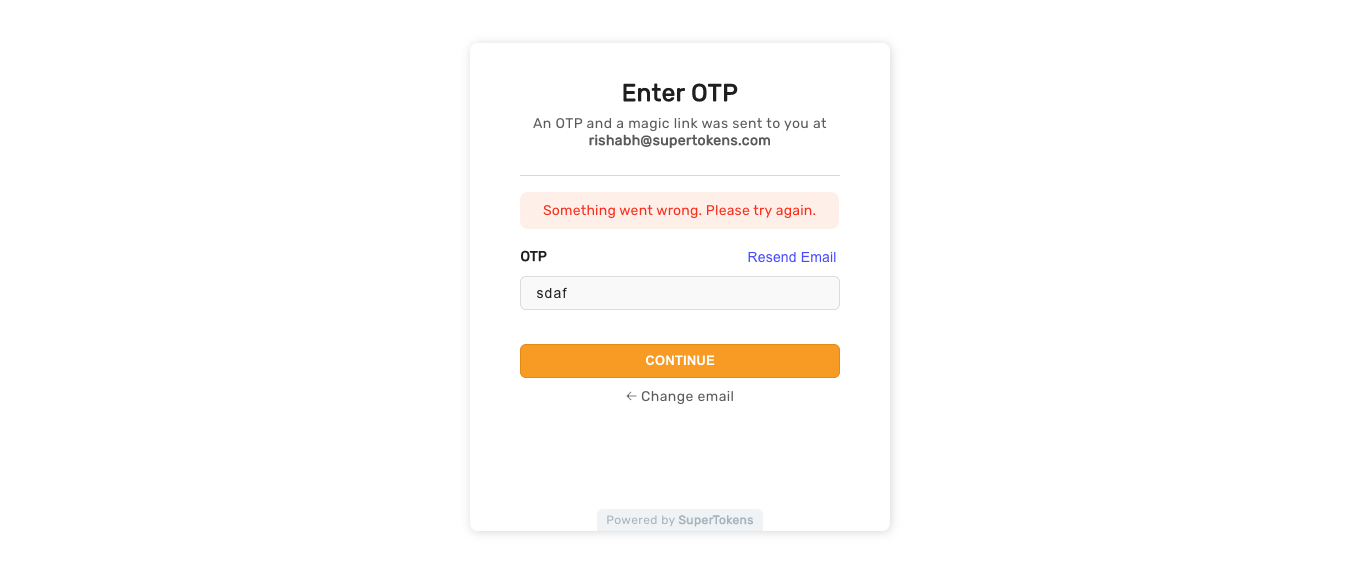
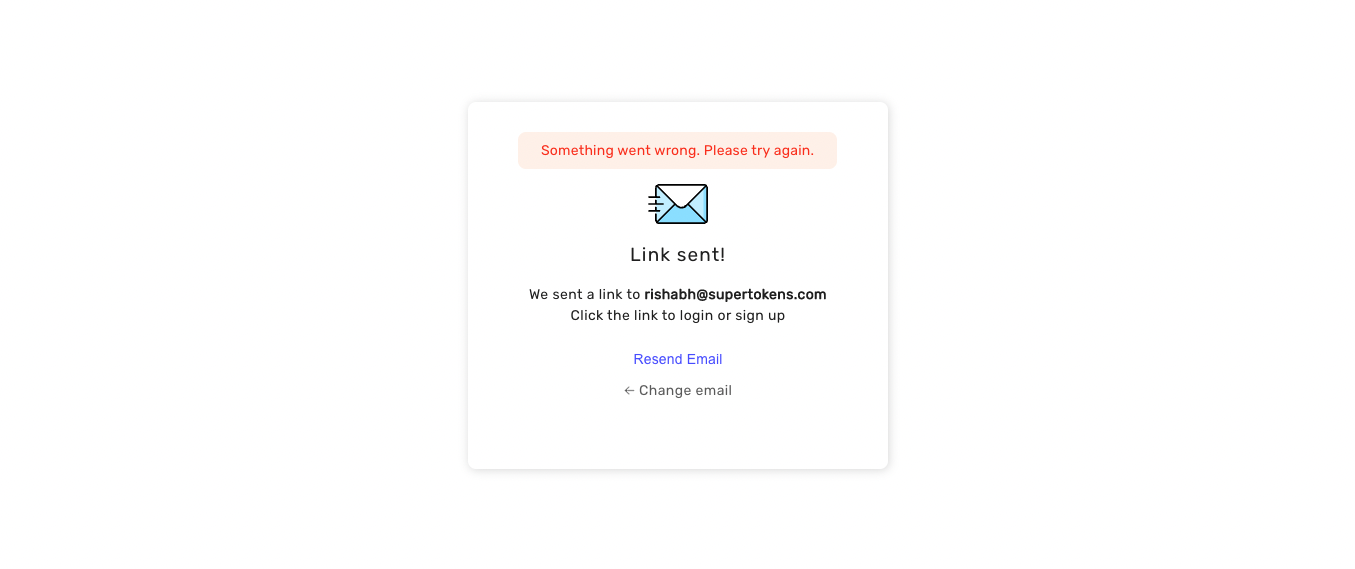
The error below appears if something went wrong after the user clicks on the magic link. Reloading the page should result in a reattempt
Social login
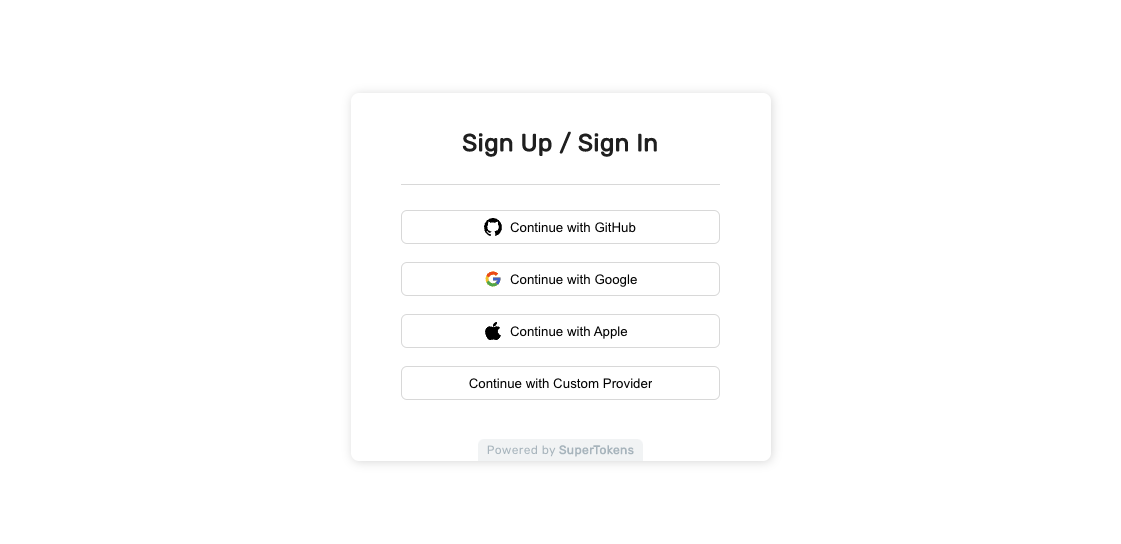
You can see the default UI when you visit the websiteBasePath (/auth by default) on your website.
Default social login button UI
Callback page UI
When the user navigates back to your application from the third party provider, they see the following UI. On this screen, SuperTokens takes the authorisation code from the URL (sent by the provider) and sends it to the backend. The backend exchanges that for the user’s access token and information.
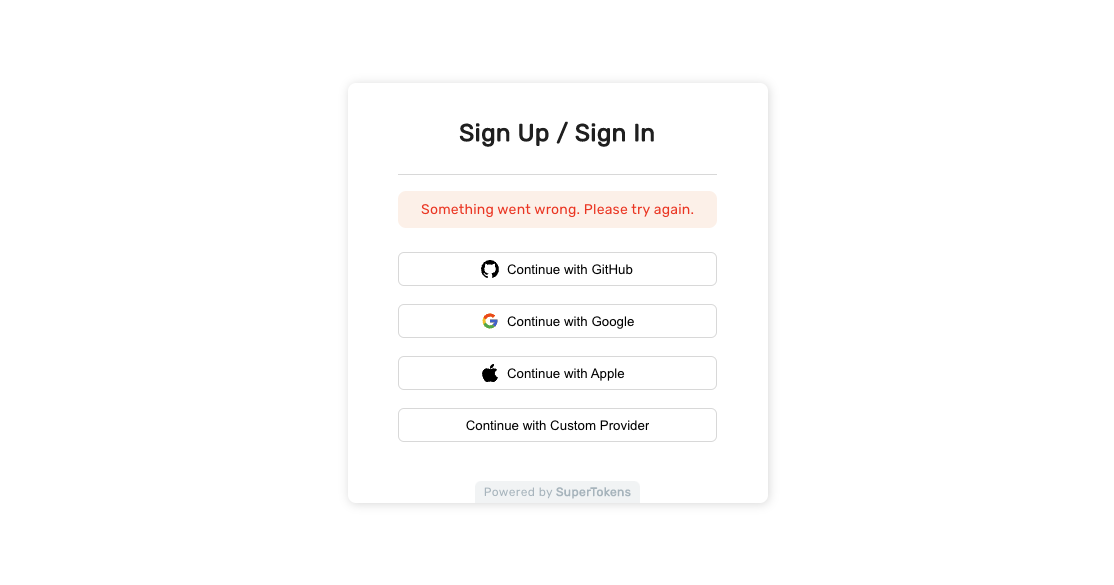
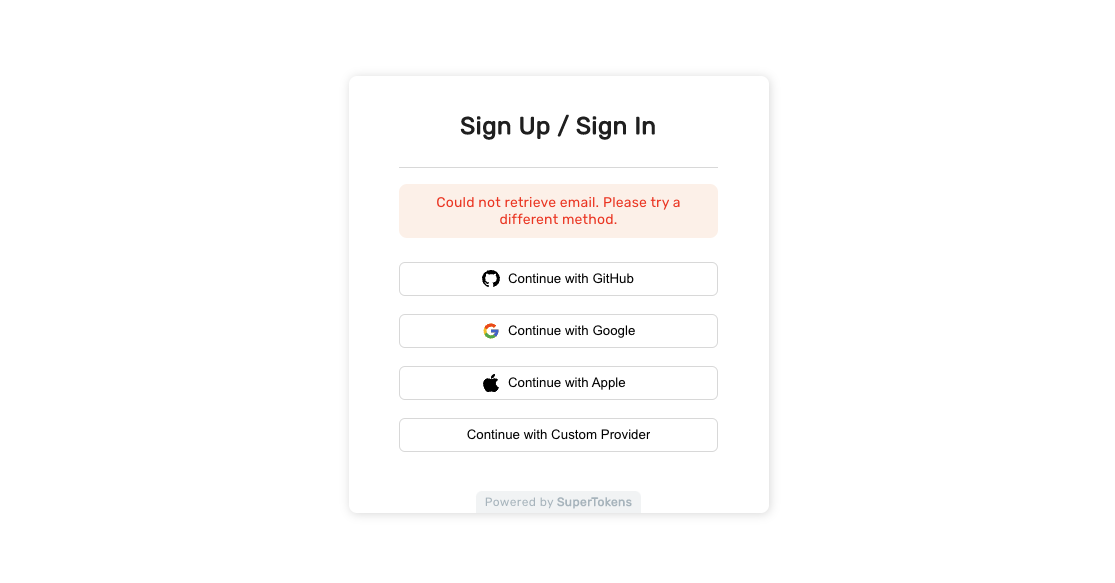
Sign in / up unsuccessful UI
SuperTokens requires that the third party provider gives an email for the user. If that’s not the case for a certain provider, the user sees the following UI.
General error UI
If there are network related errors, or the backend sends a status code >= 300, then the following UI shows. This UI also appears if there is a similar error in the callback page.