---
title: Tenant discovery
description: Automatically discover and route users to appropriate tenants based on their email domains
sidebar:
order: 60
---
## Overview
This tutorial shows you how to add tenant discovery functionality to your SuperTokens authentication flows.
The guide makes use of the plugins functionality which automatically discovers and routes users to the appropriate tenants based on their email domains.
## How it works
The plugin extracts the domain from user email addresses to infer the tenant ID.
For example, `user@company.com` would be routed to the `company` tenant.
The system includes built-in protection against popular email providers and falls back to the `public` tenant when appropriate.
## Before you start
The tenant discovery plugin supports only the React and Node.js SDKs.
Support for other platforms is under active development.
Besides initializing the plugin, you also have to configure multi-tenancy in your SuperTokens setup.
## Steps
### 1. Initialize the backend plugin
#### 1.1 Install the plugin
```bash
npm install @supertokens-plugins/tenant-discovery-nodejs
```
#### 1.2 Update your backend SDK configuration
```typescript
import SuperTokens from "supertokens-node";
import TenantDiscoveryPlugin from "@supertokens-plugins/tenant-discovery-nodejs";
SuperTokens.init({
appInfo: {
appName: "My app",
apiDomain: "https://api.example.com",
},
recipeList: [
// your other recipes
],
experimental: {
plugins: [
TenantDiscoveryPlugin.init({
enableTenantListAPI: false, // Optional: defaults to false
}),
],
},
});
```
### 2. Initialize the frontend plugin
#### 2.1 Install the plugin
```bash
npm install @supertokens-plugins/tenant-discovery-react
```
#### 2.2 Update your frontend SDK configuration
```typescript
import SuperTokens from "supertokens-auth-react";
import TenantDiscoveryPlugin from "@supertokens-plugins/tenant-discovery-react";
SuperTokens.init({
appInfo: {
appName: "My app",
apiDomain: "https://api.example.com",
websiteDomain: "https://example.com",
},
recipeList: [
// your recipes
],
experimental: {
plugins: [
TenantDiscoveryPlugin.init({
showTenantSelector: true, // Optional: defaults to true
extractTenantIdFromDomain: true, // Optional: defaults to true
}),
],
},
});
```
### 3. Use tenant discovery
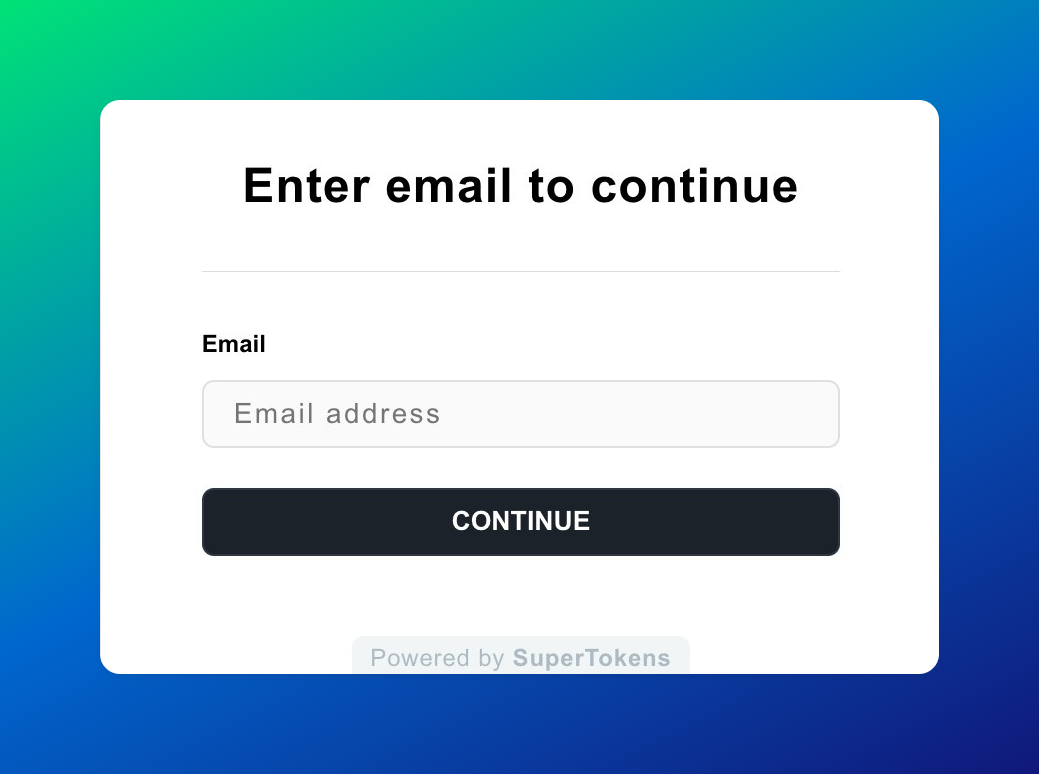
With this configuration, when a user tries to sign in, the system automatically determines their tenant based on the email domain.
Hence, you don't need to change anything else to make it work.
:::warning[Tenant discovery is not tenant authorization]
Tenant discovery routes an authentication attempt to an inferred tenant. An email domain does not prove that the user
owns or belongs to an organization. Discovery does not enforce CORS or allowed browser origins, authorize access to
business data, or provide complete tenant isolation. After authentication, verify the user's membership in the
discovered tenant. On every business-data access, the backend must derive the tenant from trusted session data and
enforce application-level tenant authorization. Do not use the submitted email domain or a browser-supplied tenant ID
as authorization.
:::
If you want to customize the user interface experience the plugin also provides other options.
#### Tenant selection interface
You can use the tenant selection interface accessible at `/tenant-discovery/select`.
This page displays all available tenants and allows users to choose their organization before proceeding with authentication.
:::info[Keep in mind that you also need to enable the `tenant list` endpoint in your backend plugin configuration.]
:::
## Customization
### Block emails from specific tenants
You can override the default tenant assignment logic to prevent certain emails from accessing specific tenants:
```typescript
import TenantDiscoveryPlugin from "@supertokens-plugins/tenant-discovery-nodejs";
TenantDiscoveryPlugin.init({
enableTenantListAPI: false,
override: (originalImplementation) => ({
...originalImplementation,
isTenantAllowedForEmail: (email: string, tenantId: string) => {
// Prevent routing to public tenant
return tenantId !== "public";
},
}),
});
```
### Add custom domain restrictions
Extend the list of restricted domains that should always use the `public` tenant:
```typescript check=false reason="This example omits surrounding application and SuperTokens configuration."
TenantDiscoveryPlugin.init({
override: (originalImplementation) => ({
...originalImplementation,
isRestrictedEmailDomain: (emailDomain: string) => {
return originalImplementation.isRestrictedEmailDomain(emailDomain) || emailDomain === "example.com";
},
}),
});
```
### Implement a custom user interface
To create a custom tenant discovery interface, use the `usePluginContext` hook:
```tsx
import { useState } from "react";
import { usePluginContext } from "@supertokens-plugins/tenant-discovery-react";
function CustomTenantDiscovery() {
const { api, functions } = usePluginContext();
const [email, setEmail] = useState("");
const [tenants, setTenants] = useState>([]);
const handleEmailSubmit = async () => {
const result = await api.tenantIdFromEmail(email);
if (result.status === "OK") {
functions.setEmailId(email);
functions.setTenantId(result.tenant);
}
};
const loadTenants = async () => {
const response = await api.fetchTenants();
if (response.status === "OK") {
setTenants(response.tenants);
}
};
return (
 If you want to customize the user interface experience the plugin also provides other options.
#### Tenant selection interface
You can use the tenant selection interface accessible at `/tenant-discovery/select`.
This page displays all available tenants and allows users to choose their organization before proceeding with authentication.
:::info[Keep in mind that you also need to enable the `tenant list` endpoint in your backend plugin configuration.]
:::
## Customization
### Block emails from specific tenants
You can override the default tenant assignment logic to prevent certain emails from accessing specific tenants:
```typescript
import TenantDiscoveryPlugin from "@supertokens-plugins/tenant-discovery-nodejs";
TenantDiscoveryPlugin.init({
enableTenantListAPI: false,
override: (originalImplementation) => ({
...originalImplementation,
isTenantAllowedForEmail: (email: string, tenantId: string) => {
// Prevent routing to public tenant
return tenantId !== "public";
},
}),
});
```
### Add custom domain restrictions
Extend the list of restricted domains that should always use the `public` tenant:
```typescript check=false reason="This example omits surrounding application and SuperTokens configuration."
TenantDiscoveryPlugin.init({
override: (originalImplementation) => ({
...originalImplementation,
isRestrictedEmailDomain: (emailDomain: string) => {
return originalImplementation.isRestrictedEmailDomain(emailDomain) || emailDomain === "example.com";
},
}),
});
```
### Implement a custom user interface
To create a custom tenant discovery interface, use the `usePluginContext` hook:
```tsx
import { useState } from "react";
import { usePluginContext } from "@supertokens-plugins/tenant-discovery-react";
function CustomTenantDiscovery() {
const { api, functions } = usePluginContext();
const [email, setEmail] = useState("");
const [tenants, setTenants] = useState
If you want to customize the user interface experience the plugin also provides other options.
#### Tenant selection interface
You can use the tenant selection interface accessible at `/tenant-discovery/select`.
This page displays all available tenants and allows users to choose their organization before proceeding with authentication.
:::info[Keep in mind that you also need to enable the `tenant list` endpoint in your backend plugin configuration.]
:::
## Customization
### Block emails from specific tenants
You can override the default tenant assignment logic to prevent certain emails from accessing specific tenants:
```typescript
import TenantDiscoveryPlugin from "@supertokens-plugins/tenant-discovery-nodejs";
TenantDiscoveryPlugin.init({
enableTenantListAPI: false,
override: (originalImplementation) => ({
...originalImplementation,
isTenantAllowedForEmail: (email: string, tenantId: string) => {
// Prevent routing to public tenant
return tenantId !== "public";
},
}),
});
```
### Add custom domain restrictions
Extend the list of restricted domains that should always use the `public` tenant:
```typescript check=false reason="This example omits surrounding application and SuperTokens configuration."
TenantDiscoveryPlugin.init({
override: (originalImplementation) => ({
...originalImplementation,
isRestrictedEmailDomain: (emailDomain: string) => {
return originalImplementation.isRestrictedEmailDomain(emailDomain) || emailDomain === "example.com";
},
}),
});
```
### Implement a custom user interface
To create a custom tenant discovery interface, use the `usePluginContext` hook:
```tsx
import { useState } from "react";
import { usePluginContext } from "@supertokens-plugins/tenant-discovery-react";
function CustomTenantDiscovery() {
const { api, functions } = usePluginContext();
const [email, setEmail] = useState("");
const [tenants, setTenants] = useState